This post was made in collaboration with Chase Freedom Unlimited but all of the opinions are my own.
![]()
So as you know, Charlie is here! Two weeks old already. Fortunately – and so different from last time – we actually finished our to do list ahead of time and had our home ready for the little dude.
First we installed a stair runner for safety and comfort.
Then I embarked on organizing all of baby boy’s clothes (er hand-me-downs) from Henry.
Then we designed the nursery – which is now complete!
Throughout this process we have been using our Chase Freedom Unlimited card on all of our purchases which allows us to earn 1.5% cash back. We also earned 1.5% cash back on the next item on our to-do list. I wanted to share with you the more detailed version of the window treatments as that was honestly the biggest process for us in this space.
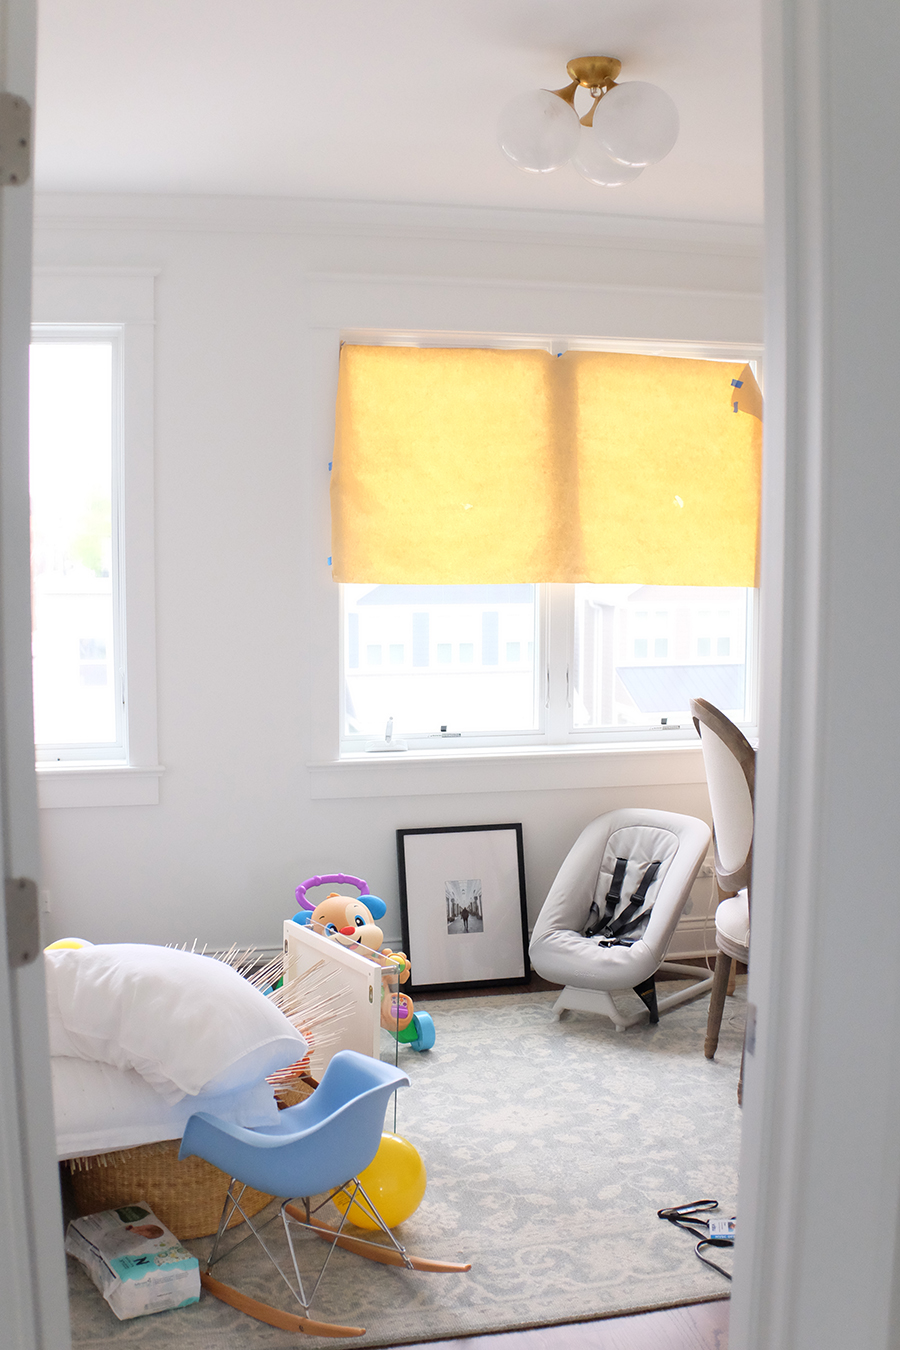
Above is the room BEFORE. As you can see, we spent the past year in this home sans window treatments in this room except for when we had guests spend the night, at which point we would literally tape kraft paper to the window to give them privacy and block some morning light. Award-winning hosts, I know.
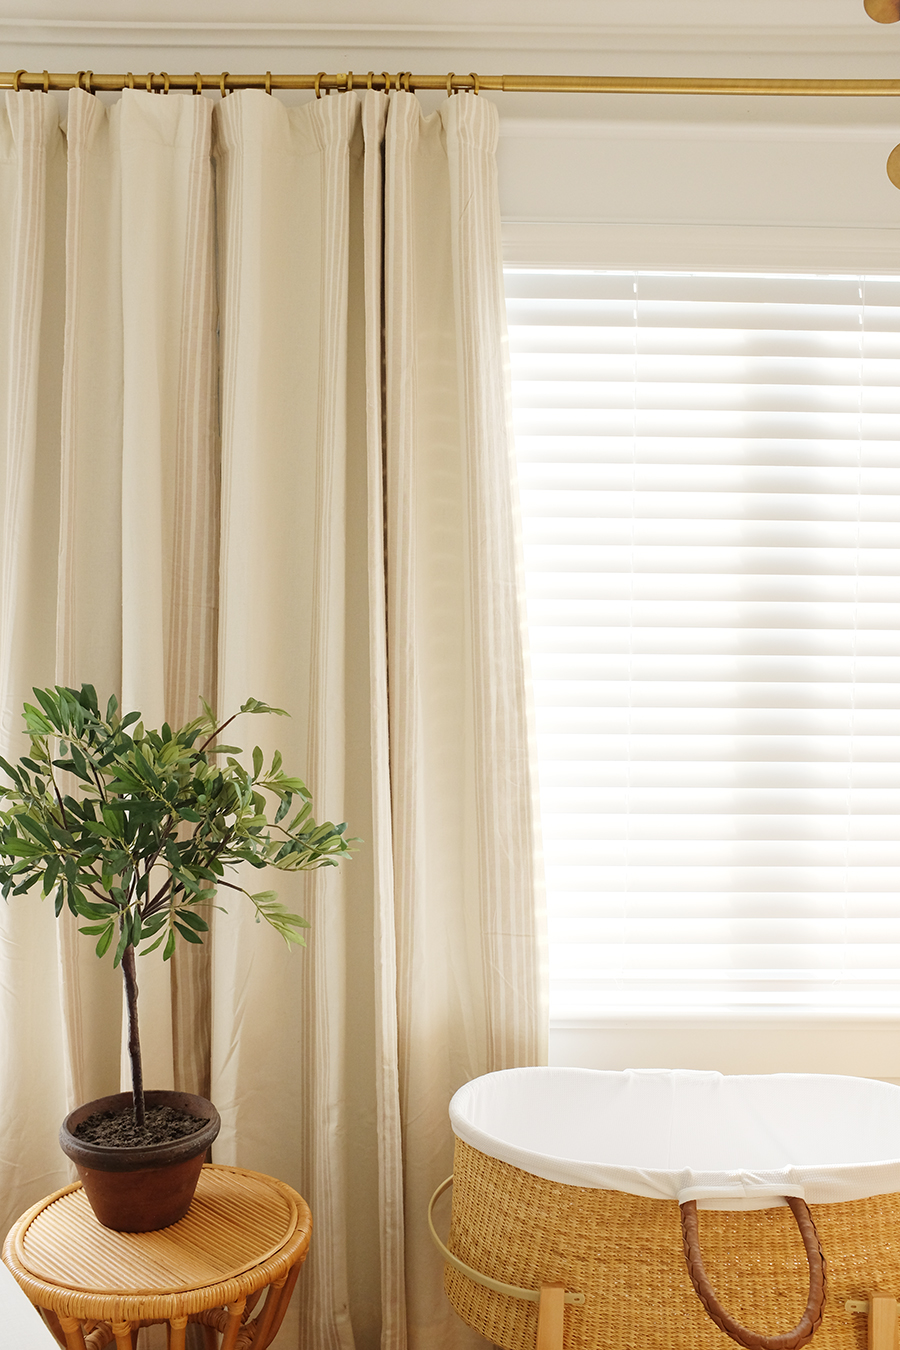
Window treatments can get pricey fast, so we had to weigh our options. I knew I wanted a pattern for the curtains as opposed to Henry’s which are plain white, and I actually ordered these lovely blackout striped curtains (color is sandalwood) during a sale a while back using our Chase Freedom Unlimited card (sale + earning 1.5% cash back with our Chase Freedom Unlimited cash back credit card – I call that a win win). I knew they’d go great with the earthy-toned nursery I had planned but choosing them was the easy part. Hanging them is where things got a bit tricky.
Allow me to explain.
This room faces west and gets BLASTED with the evening sun… so you know, right when baby needs to go to sleep. Not ideal. It also makes the room very warm. To make the room dark enough for sleep training, the plan was two layers of defense: blinds paired with blackout curtains.
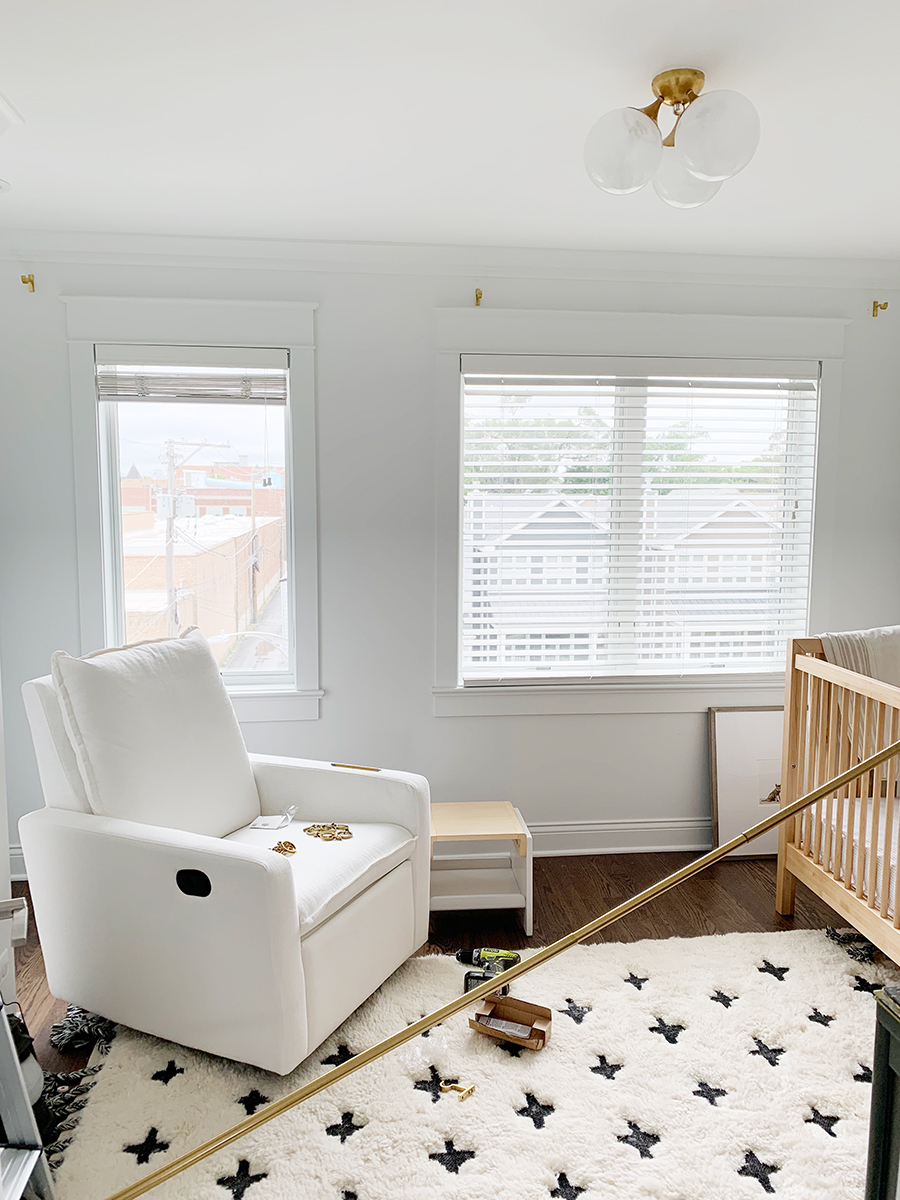
STEP ONE: Hang the blinds 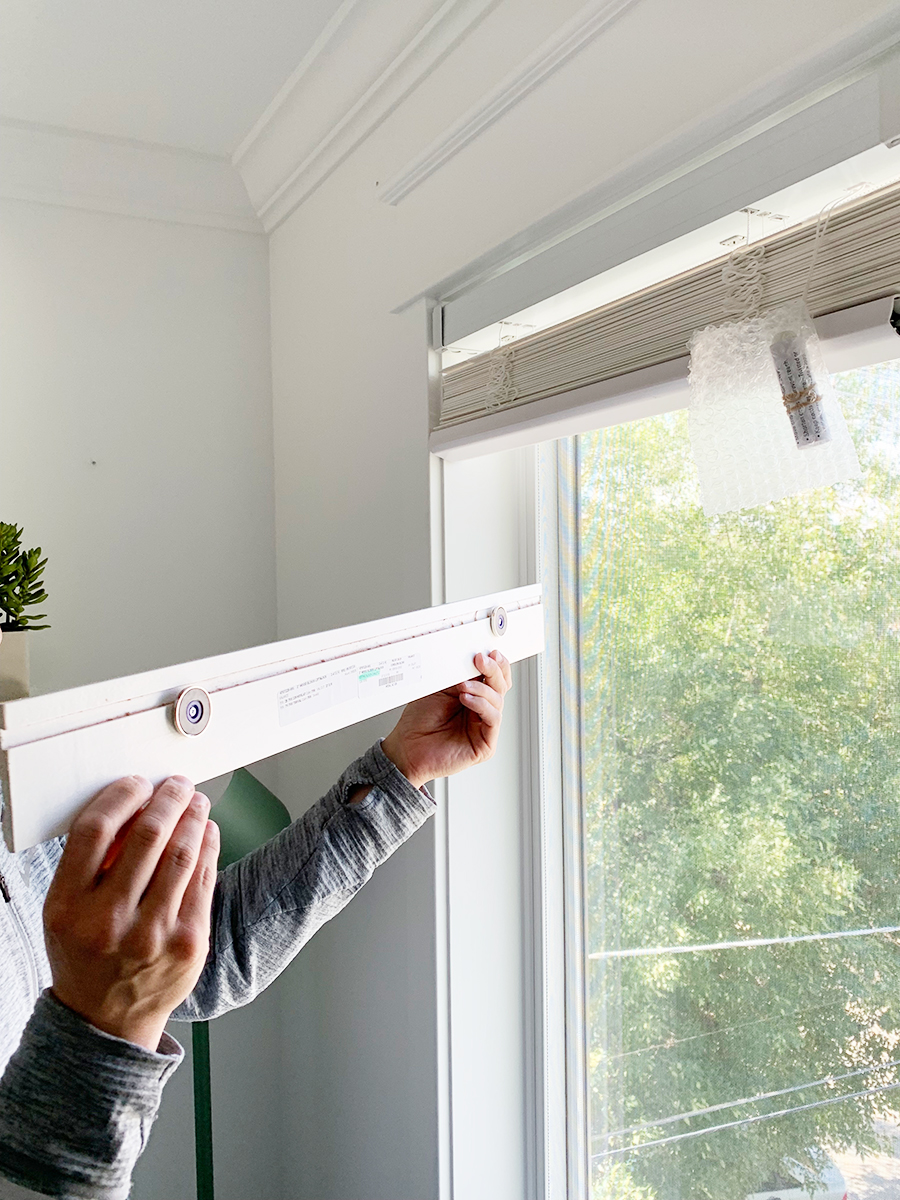

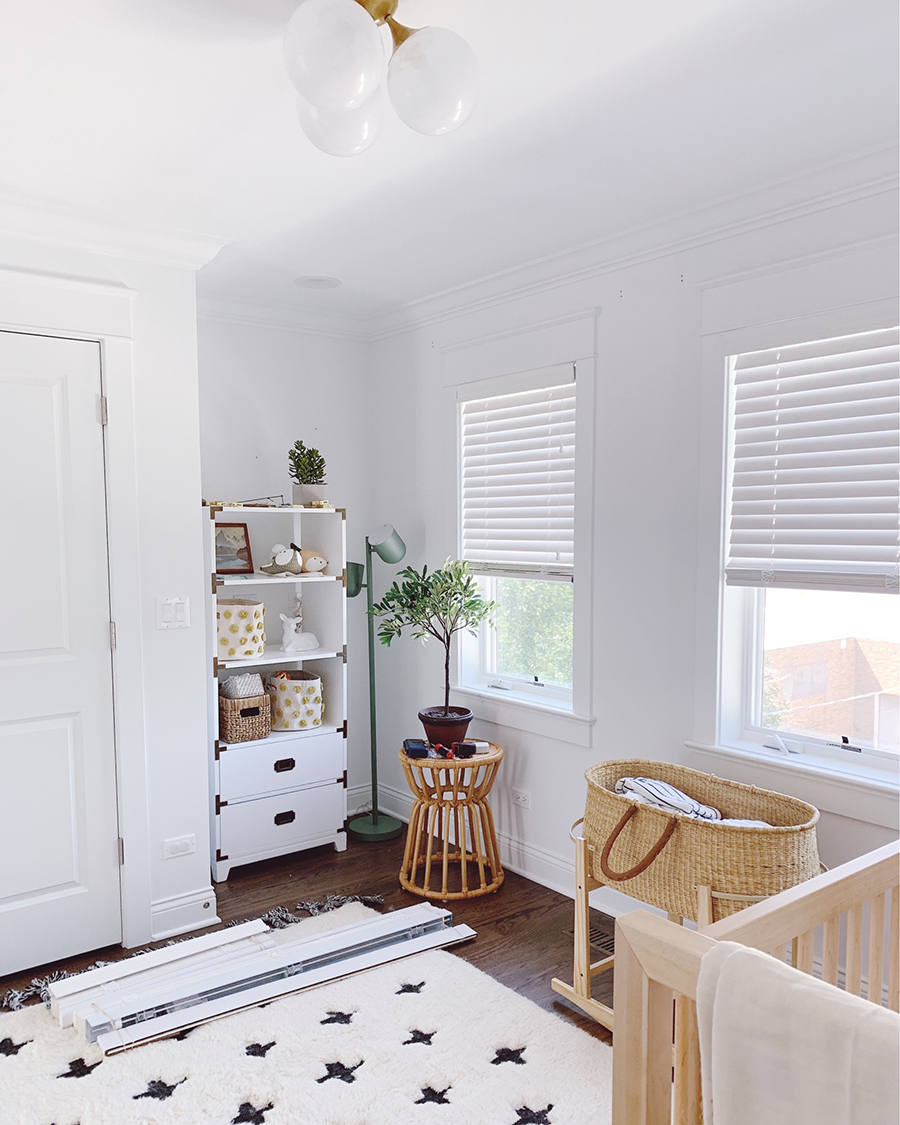
We went with white cordless, wooden blinds ordered online – and actually put them in both boys’ rooms. Really pleased with the quality and they were SO easy to install. The cord you do see is to open and close the panels much like a wand would do but this stays up high as opposed to cords that adjust the height which often go so low as to dangle on the floor so it’s not a hazard to the boys. The room already looked so much better once those were up.
STEP TWO: Hang the Blackout Curtains
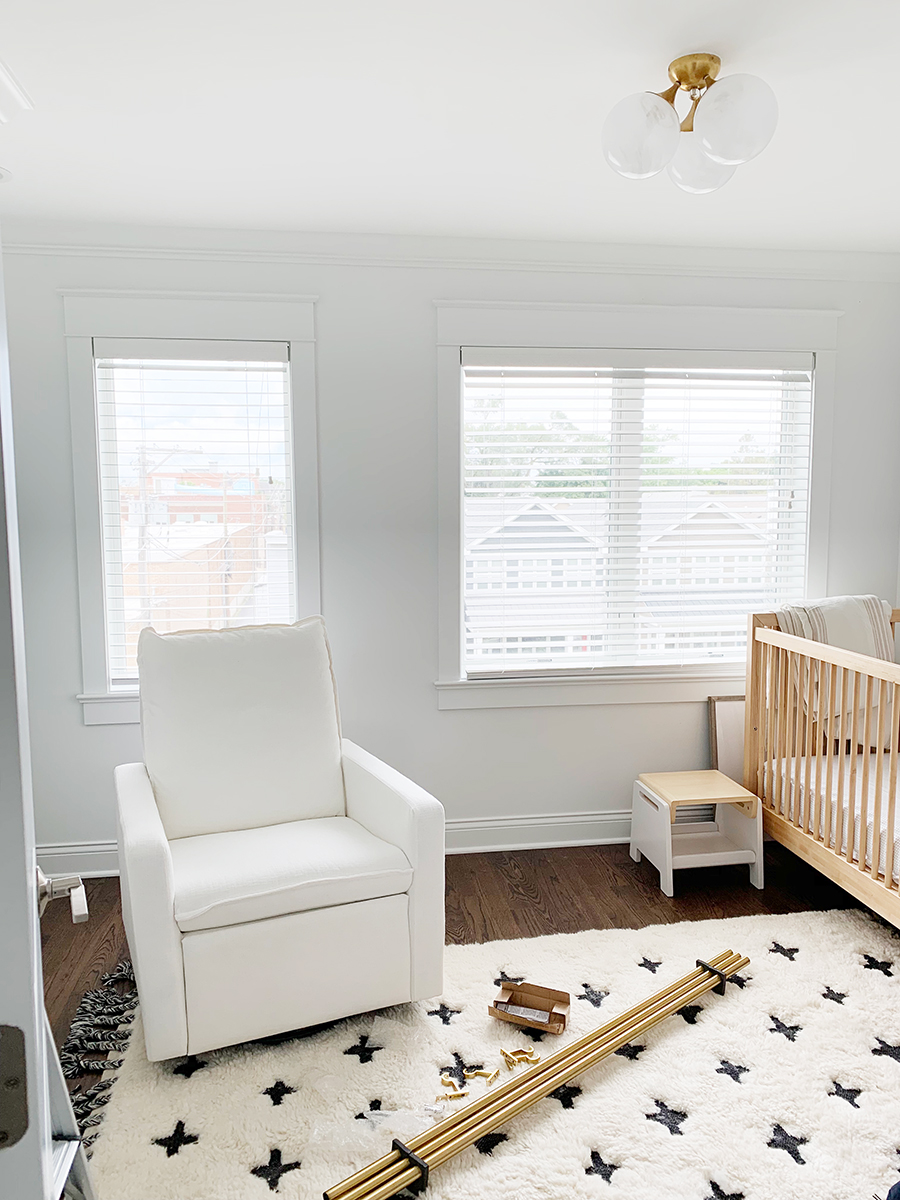
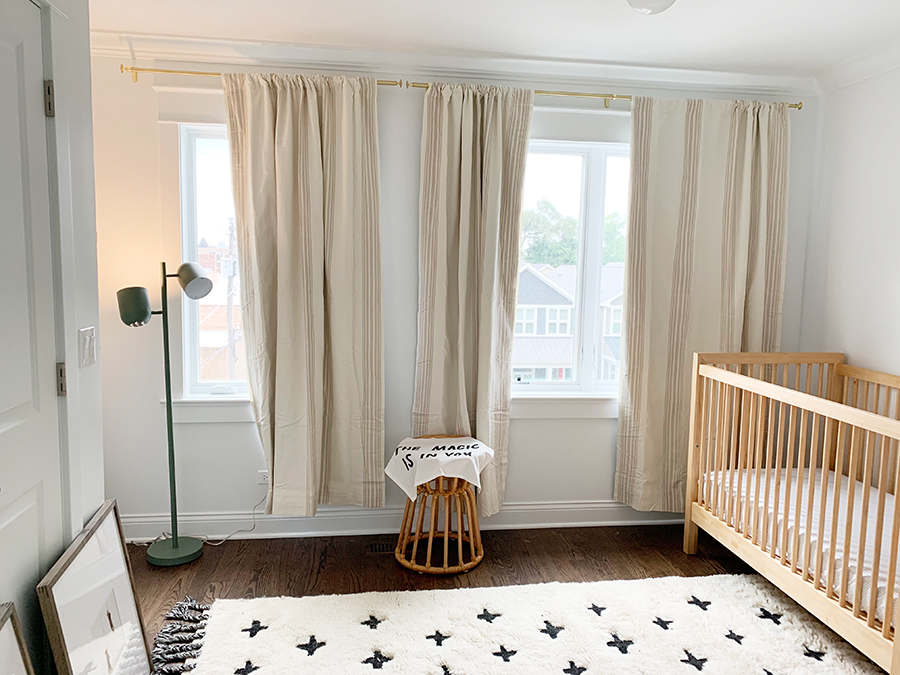
So, our first attempt with the curtains was to hang two rods – one over each window. Most of the time, this makes sense. But as you can see just from looking at the photo, we ran into a couple of problems.
- The curtains I ordered were too short.
- The rods were too close together.
- The blackout curtains were super bunchy and thick and needed to be hung from rings.
- This is a bit difficult to explain, but there wasn’t enough space between the two windows for how far the rods needed to be hung; this didn’t allow the curtains to open as much as we would have liked them.
We needed a new solution.
I saw a photo on instagram of a nursery similar to our situation – two windows close together, and the curtain panels were hanging on one long rod as opposed to two.
Perfect! That’s what we needed to do.
STEP THREE: Rehang the Curtains with One Rod
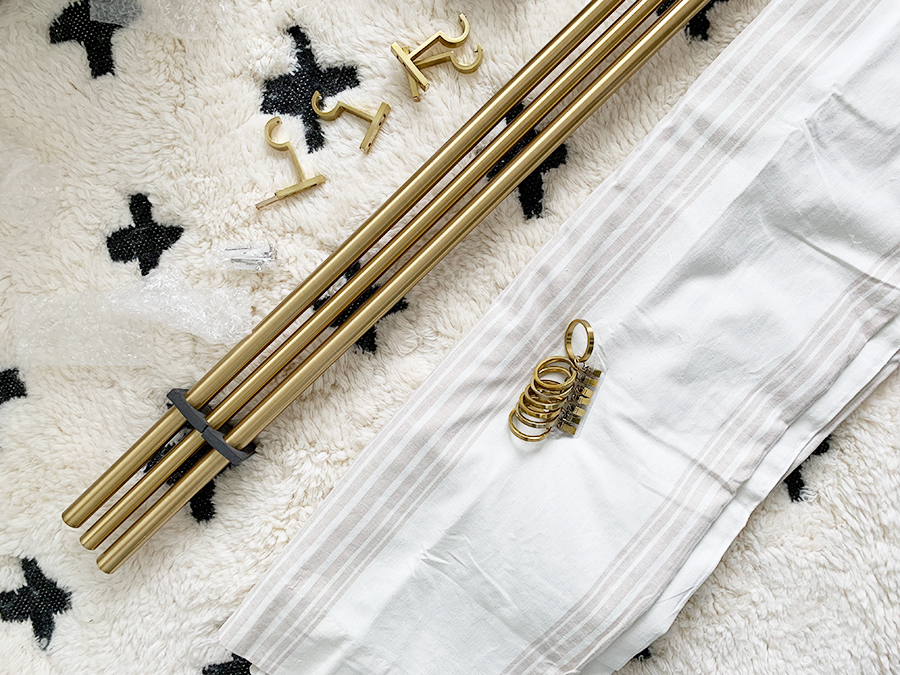
Step 3 is actual multiple steps…
- Hang one long rod – figure out where center anchor should go so that curtains are dispersed properly.
- Attach drapery hooks to the curtains. The curtains we ordered fortunately came with drapery hooks and loops to hook them through – otherwise you can find these online. Here’s a tutorial on how to affix them to the curtain.
- Hang curtains from rings.
- Uh oh – rings were sold in packs of 7, but each curtain panel has 10 hooks which therefore requires 10 rings. Need to order more rings.
- Hang curtains rings from rod. This was also a little tricky as the two middle curtains are not equidistance on either side of the center anchor. Took some adjusting to figure how much should fall to each side so that they looked right when they were open and when they were closed. We wanted to ensure the wall between the two windows was always covered.
Eventually we had everything we needed, and when they went up it worked out so great!
You’ll notice the rings added that extra inch or so the curtains needed. I didn’t want them on the floor completely since that is where the vent is. They would also collect more dust, so the fact that they don’t totally touch the floor works great in this space. The rings also make it so much easier to open and close the curtains.
The Final Result!
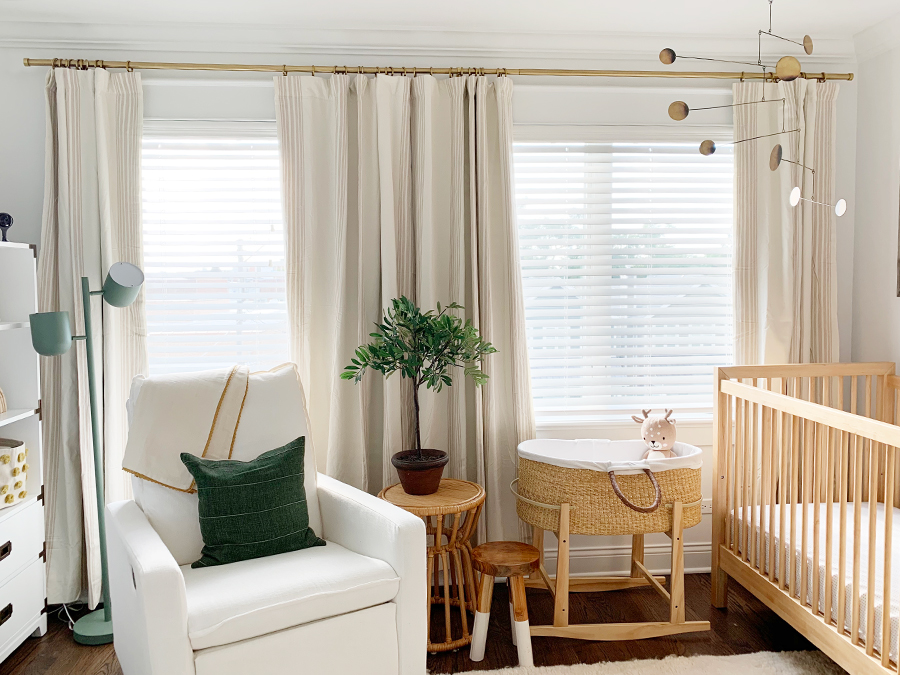
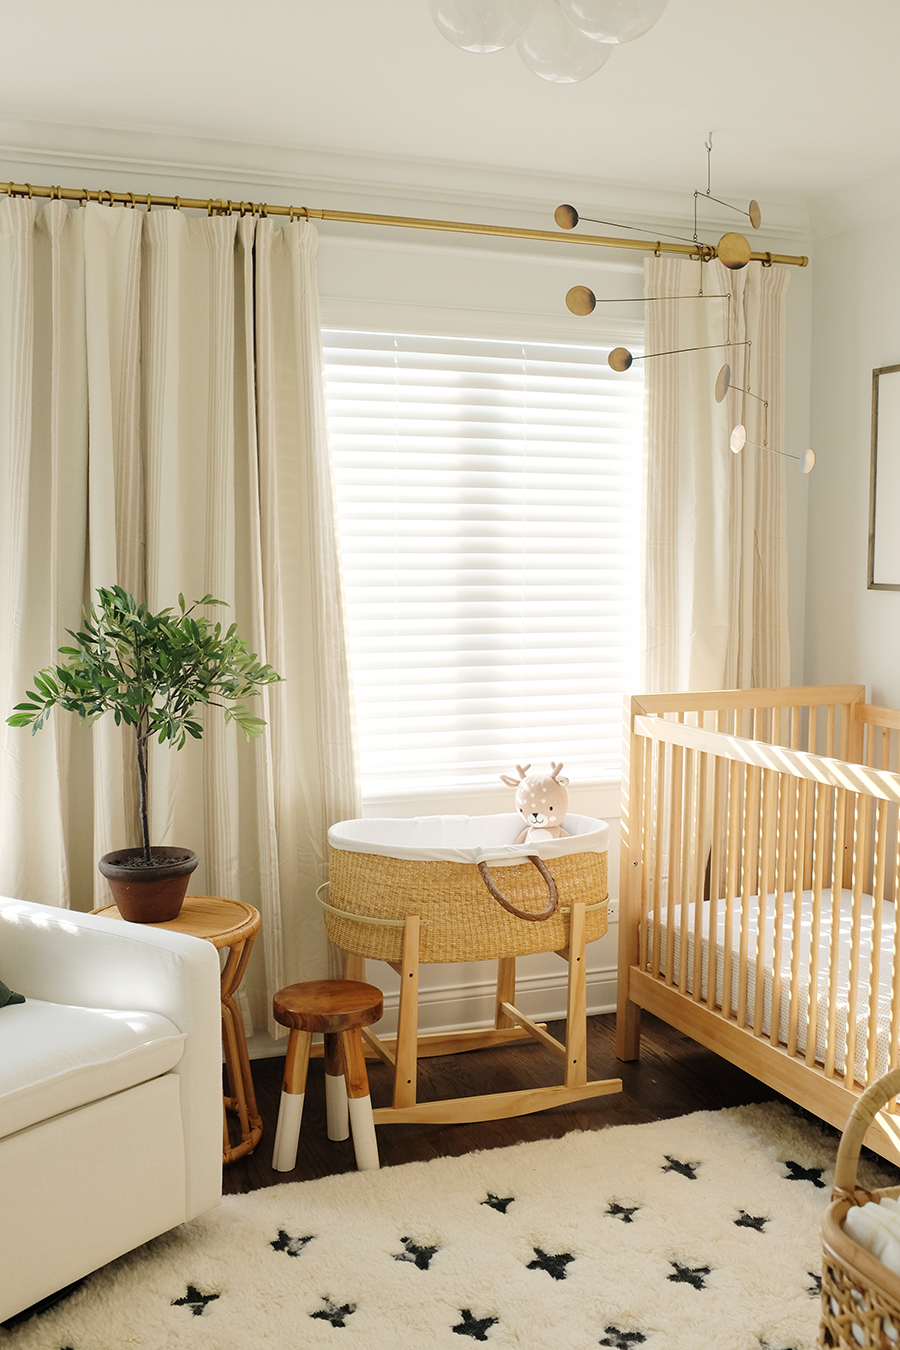
We are so, so happy with the final result! I’ve had so many questions about the curtains, so I hope this helps explain it all! You can find direct links to all of the products in my nursery tour blog post!
Can you please post the exact blinds you used? Thank you!!
Super helpful! Can you explain how the drapery rings attach to the drape? Are they clipped / sewed in? Did they come attached to the curtain? Thank you!
Hi there – can you provide the link or name of the rocking chair that you have here? Thank you!!!