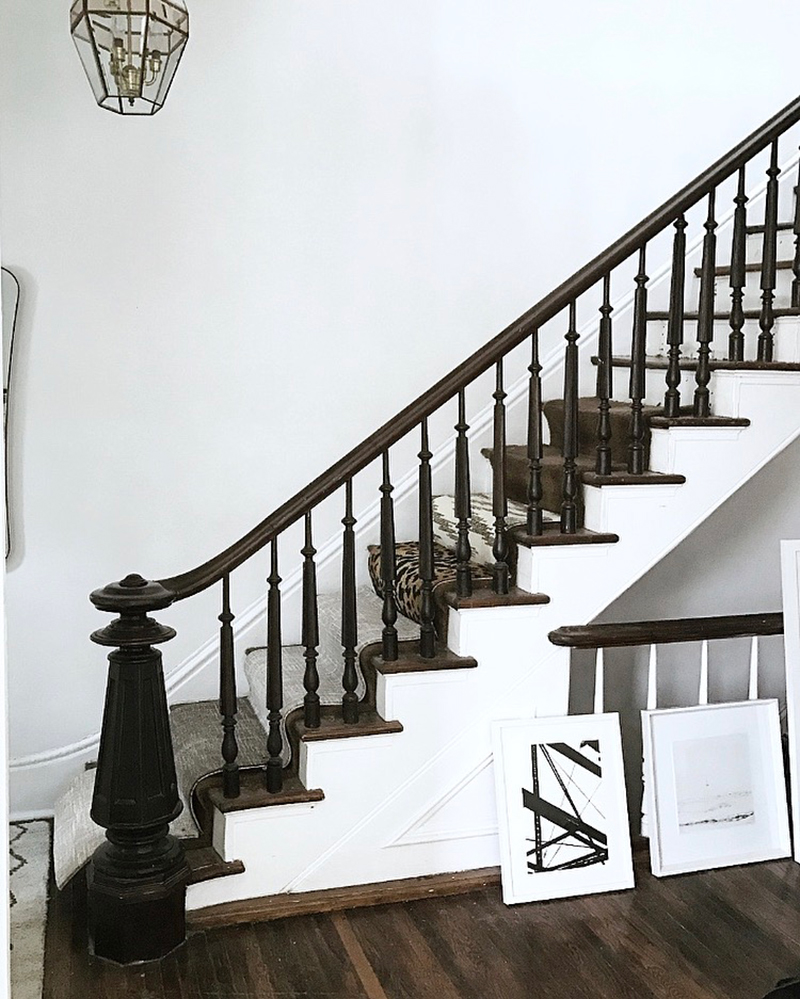
As you may recall from the before tour, the stair runner in our home was in really bad shape. As soon as we looked at it, I knew it would have to be replaced while we lived here and our landlord wasn’t going to do it. It was going to be one of the projects we had to tackle if we signed the lease. Which we did.
It was never a matter of the runner not being my style or me simply not liking it… I can live with things I don’t like. It was… how do I put this… really really gross.
The old runner was worn down, dark brown, musty, ripped, stained with dirt and paint, but more so – dirt literally flew in my face when I started ripping it up and a solid layer of dirt laid beneath it. It kind of looked like it had been there for 30 years.
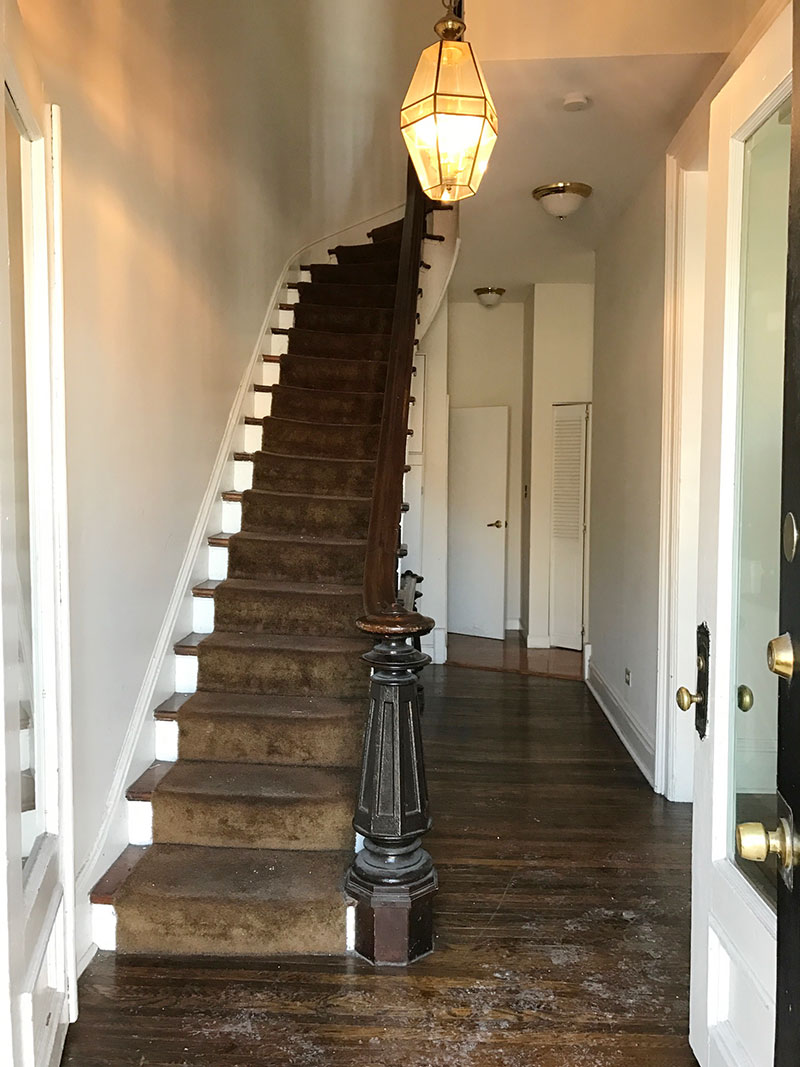
It had to go.
STEP 1: TEARING UP THE OLD RUNNER
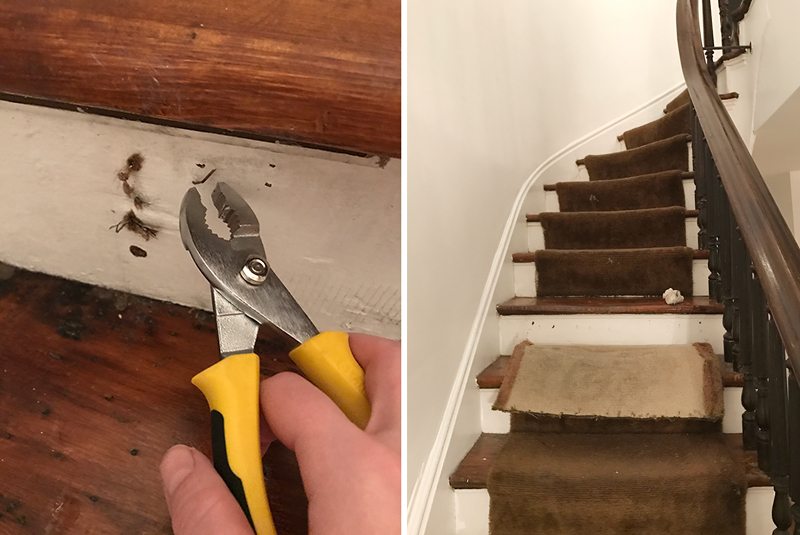
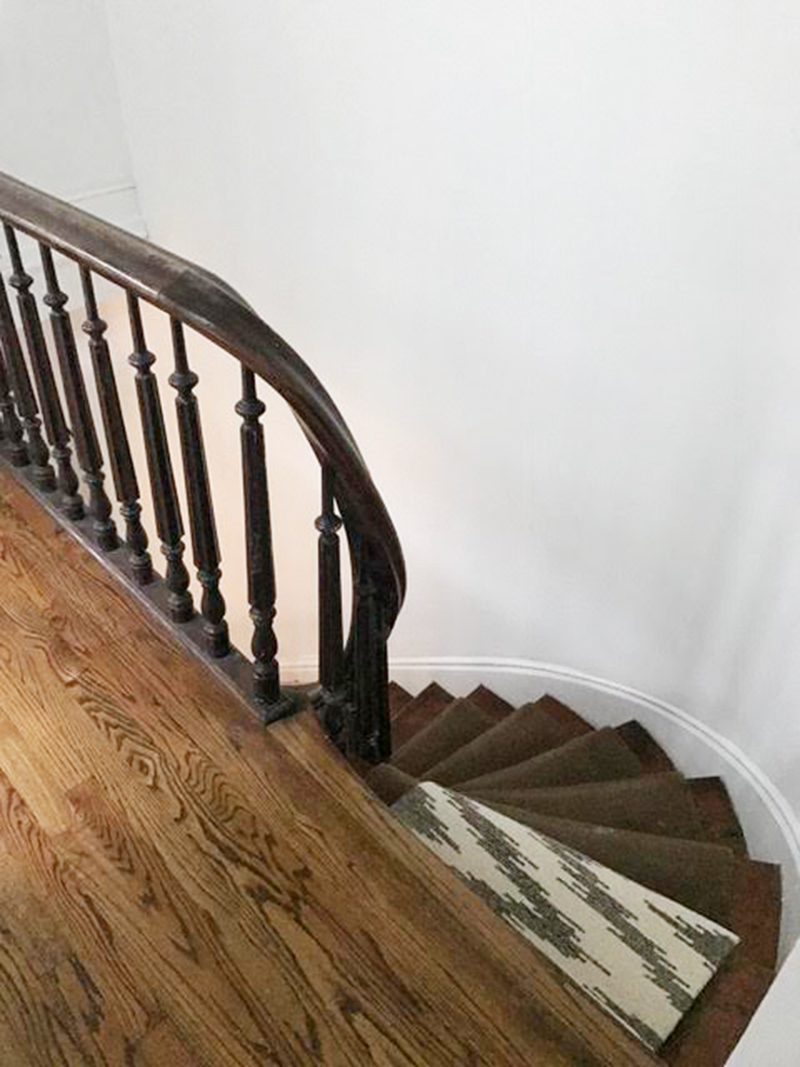
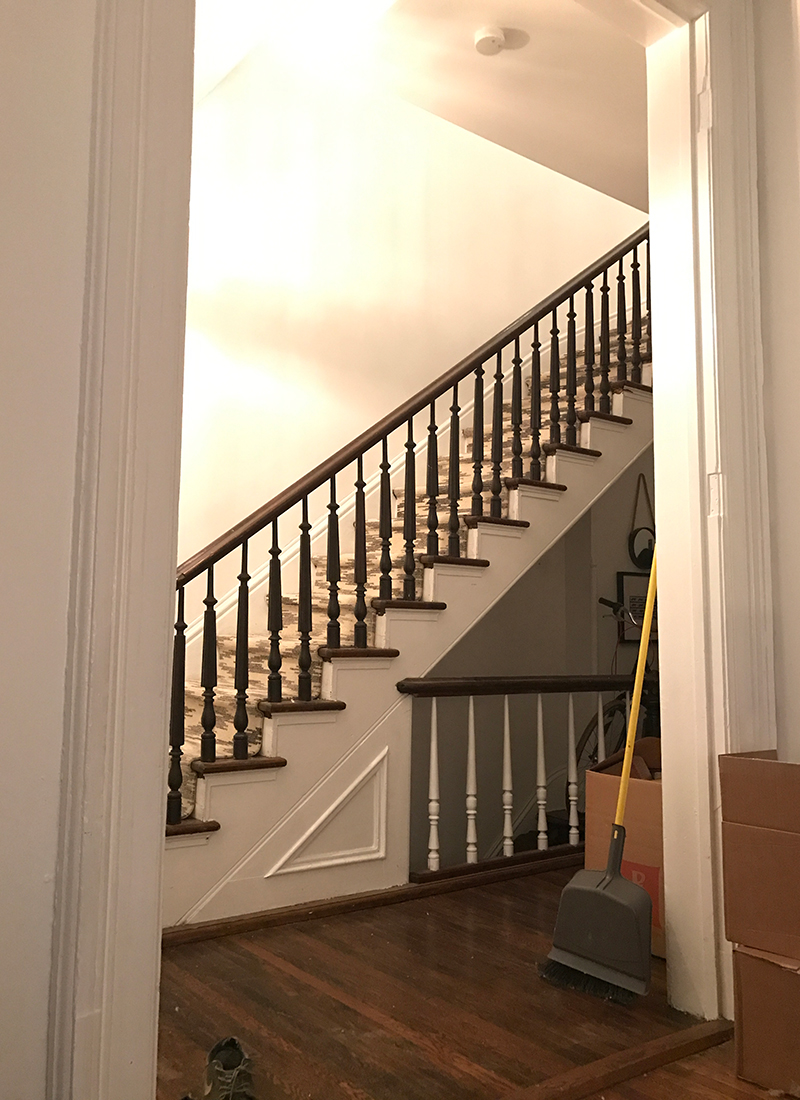
One night shortly after moving in, I had the urge to start ripping it up. I used oven mitts to protect my hands from the old rusty staples that started flying out. My thinking was, I’ll just tear it up and paint the back rise of each step with a fresh coat of paint! Wooden stairs would be better than the runner!
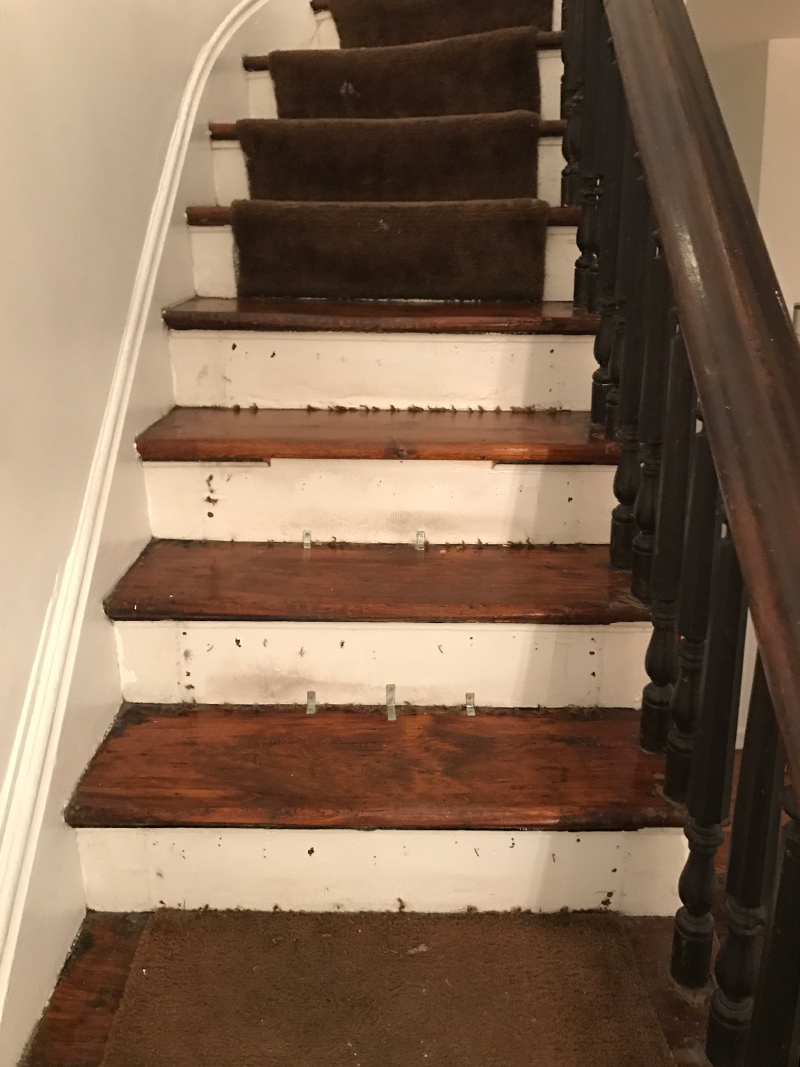
Alas – I discovered that metal brackets were securing some of the 120 year old stairs in place and couldn’t be left uncovered. But I didn’t have a new runner picked out, and I had already ripped up the carpet. So we lived like this for a few months.
STEP 2: CHOOSING A NEW RUNNER
Enter my heroes. The folks at Annie Selke’s Dash & Albert who I was so lucky to partner with on this project. I’ve used a number of their rugs in my homes before – the quality is always amazing.
After speaking with them, they advised we get a wool micro hooked rug for durability for a stair runner. I had been thinking I wanted a jute or sisal, natural fiber runner that I’ve seen so many times in magazines, but apparently natural fiber weave rugs do not wear well with all of the stretching and daily use of a stair runner. Take note of that! They’re pretty but not practical.
I took their advice and placed the order for some samples to get a better sense of color and pattern in the space.
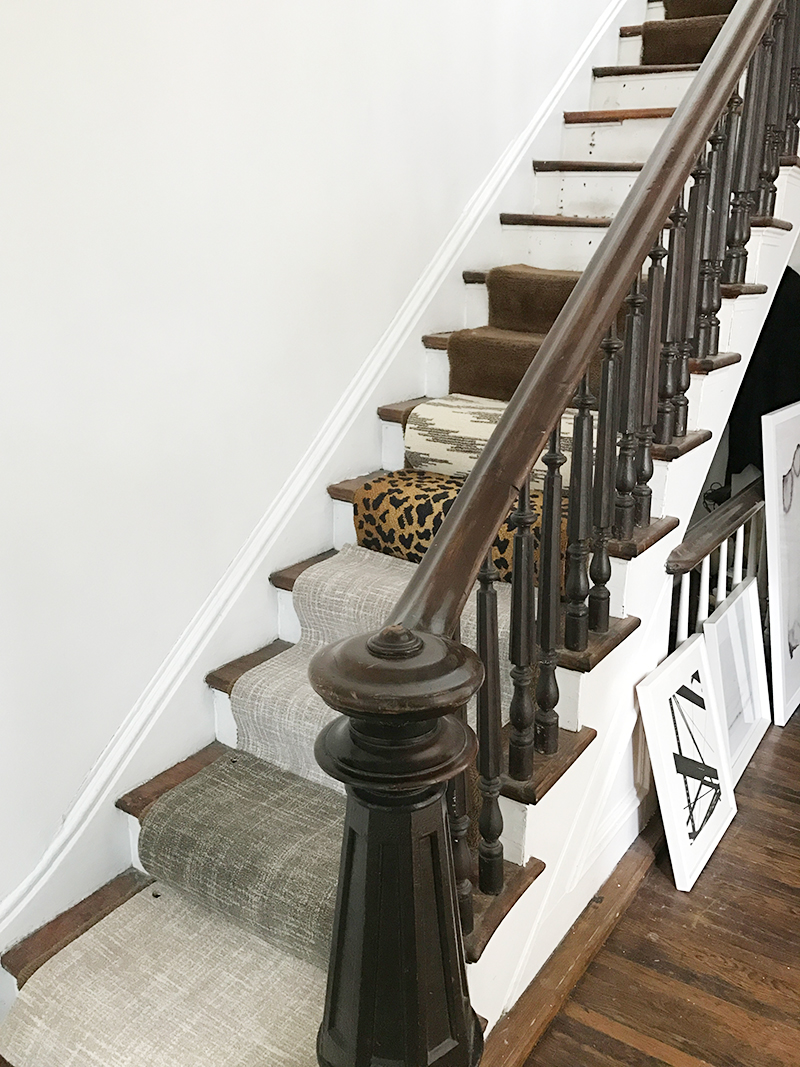
The designs we went with were:
I could not decide, so per usual, I took to creating Photoshop mock-ups…
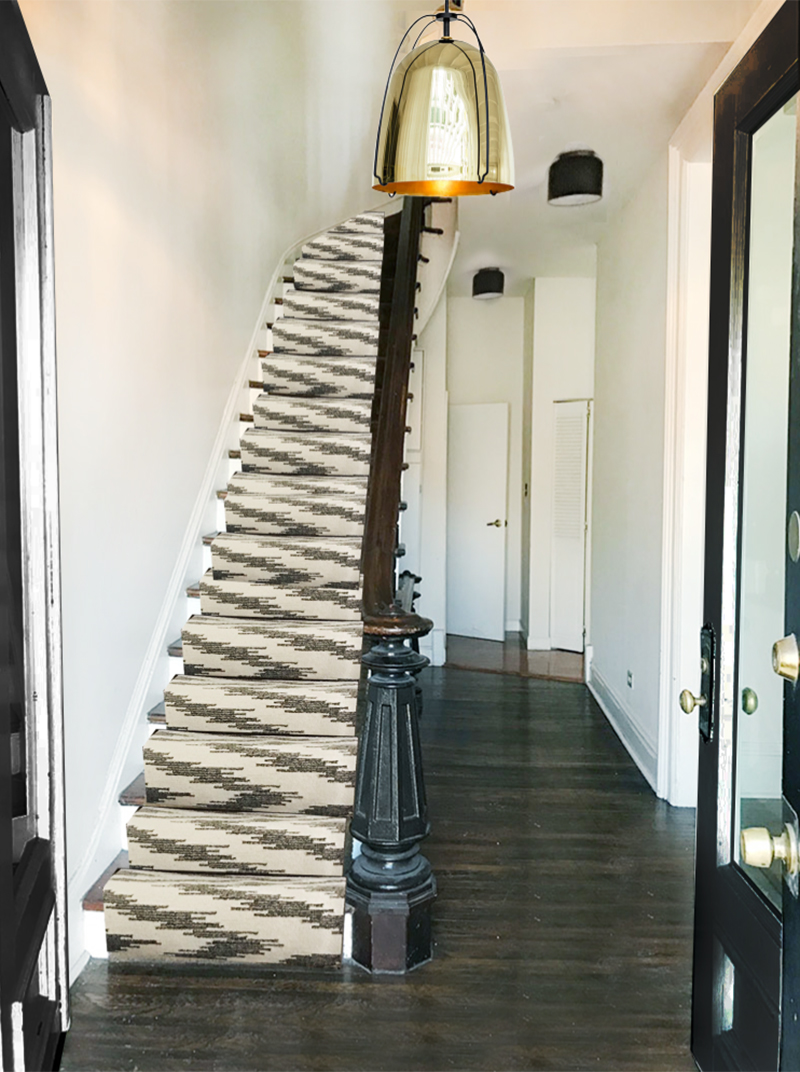


Ultimately we settled on the Chekat pattern! I definitely wanted the boldness of a pattern and worried the leopard was a bit too overwhelming given how many stairs there are. Three runners arrived to get the job done, and I laid them down on the stairs as soon as they arrived. I was a fan and the photoshopping had paid off!
The initial plan was to DIY this project ourselves. But ultimately we went with hiring our trust handyman to do it, and after seeing the process, I am SO GLAD we didn’t even try. Because the house is old, the stairs are uneven, cutting the runner, making the pattern continuous, taking off the wood undertrim… just so much was involved and it took him longer than I even expected.
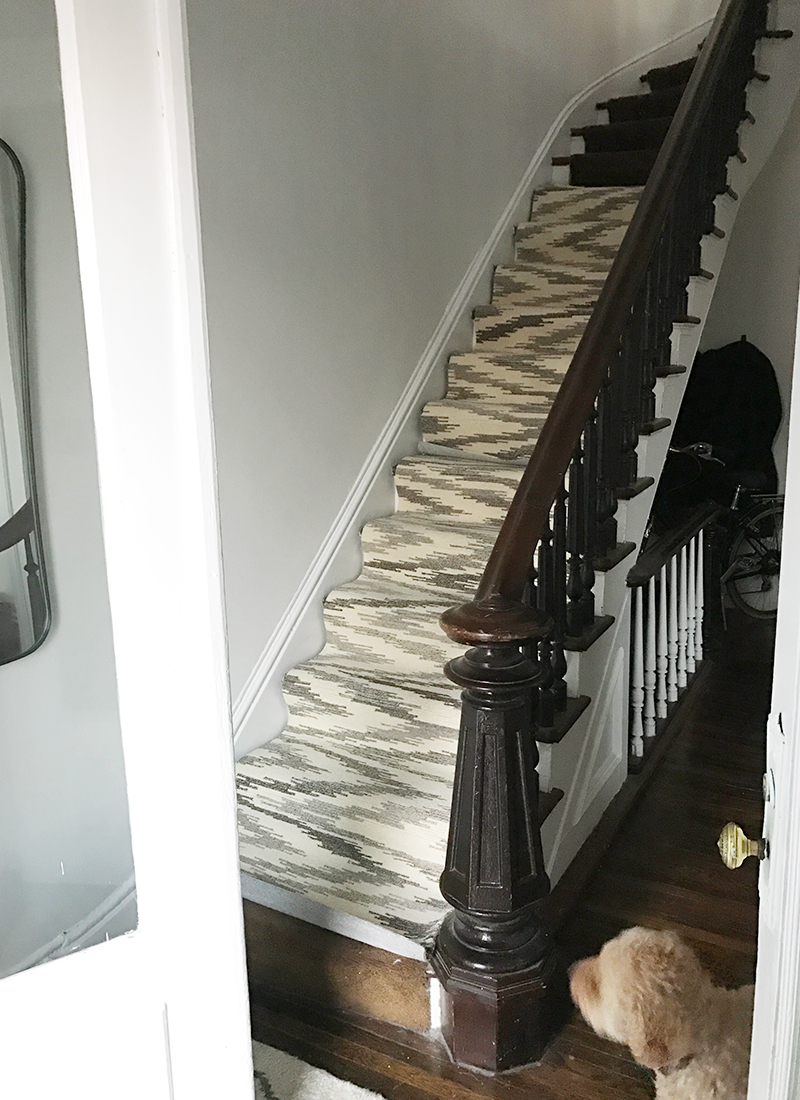
STEP 3: THE FINISHED PRODUCT
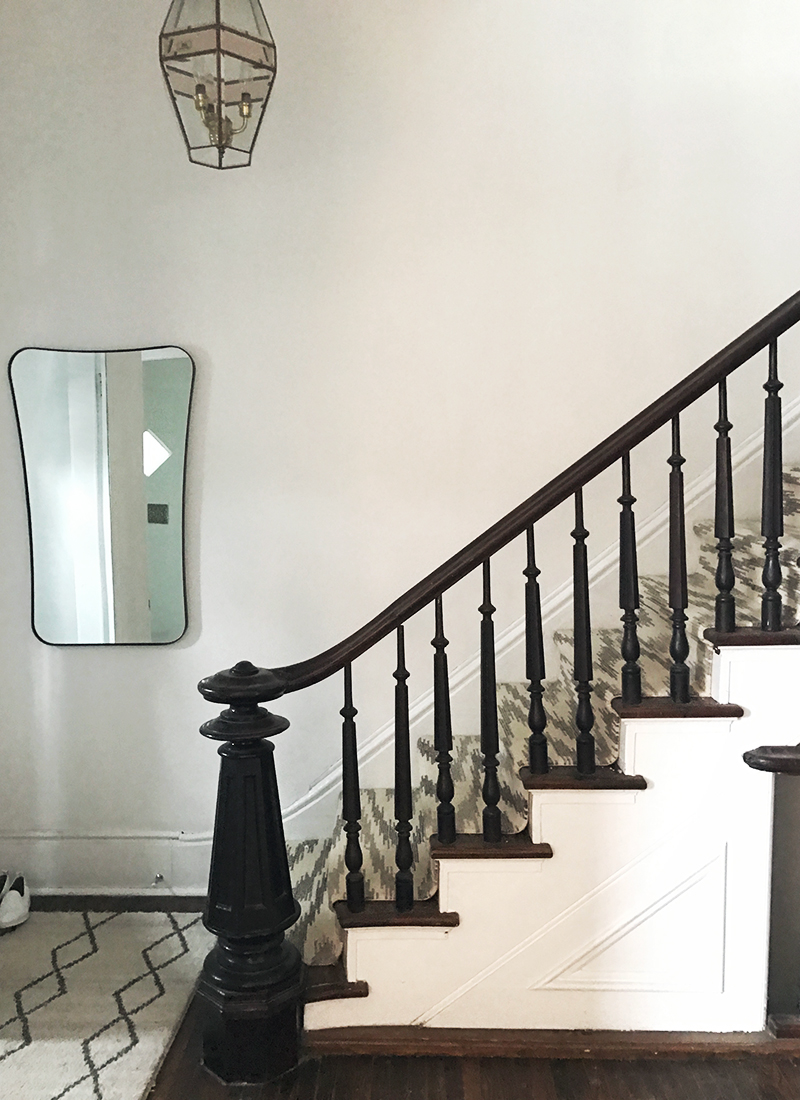
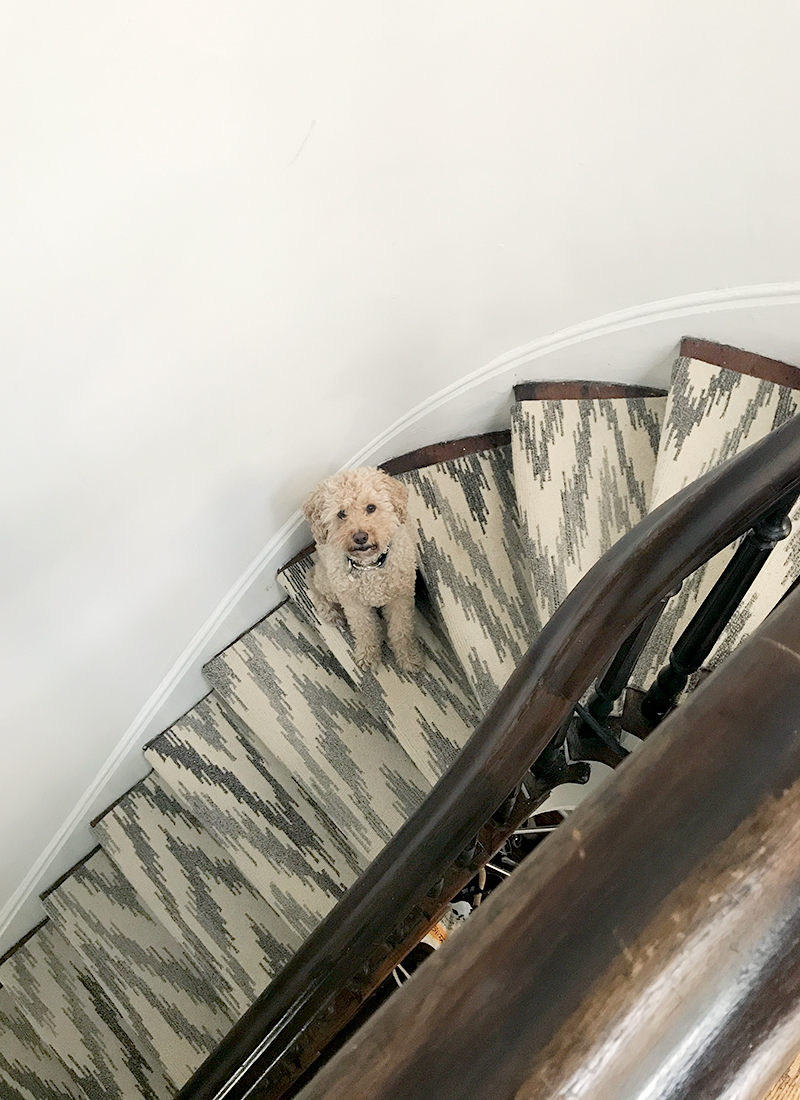
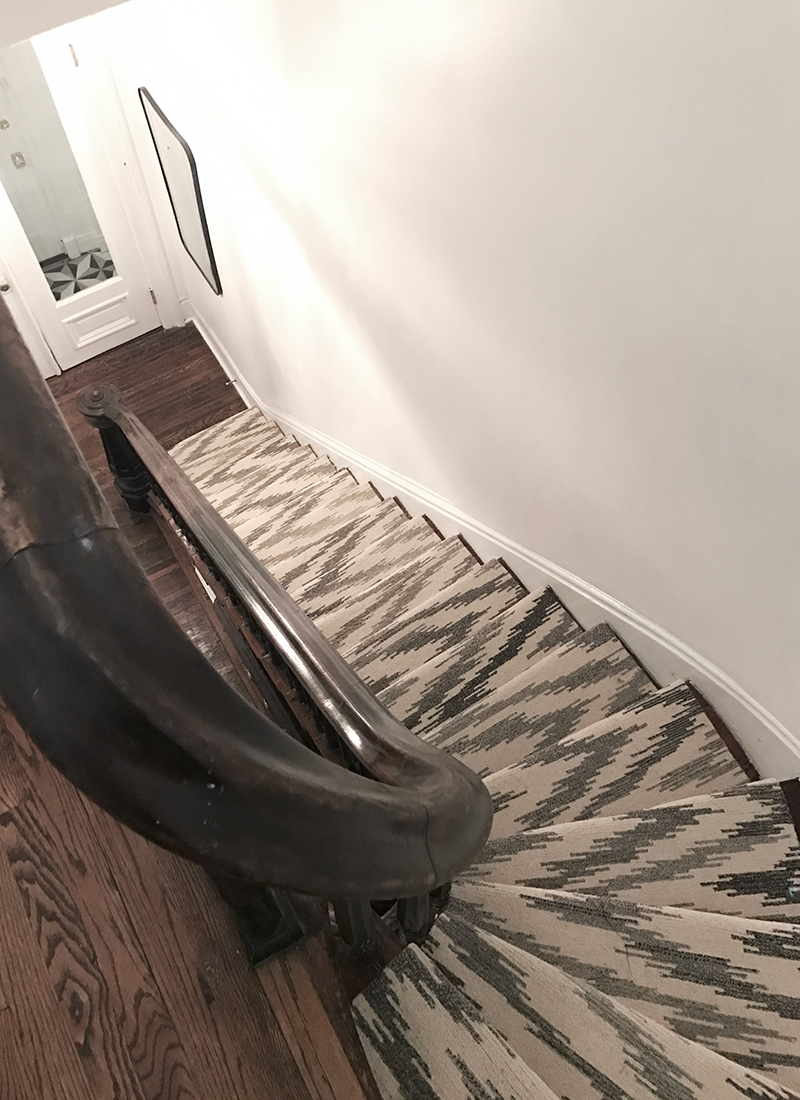
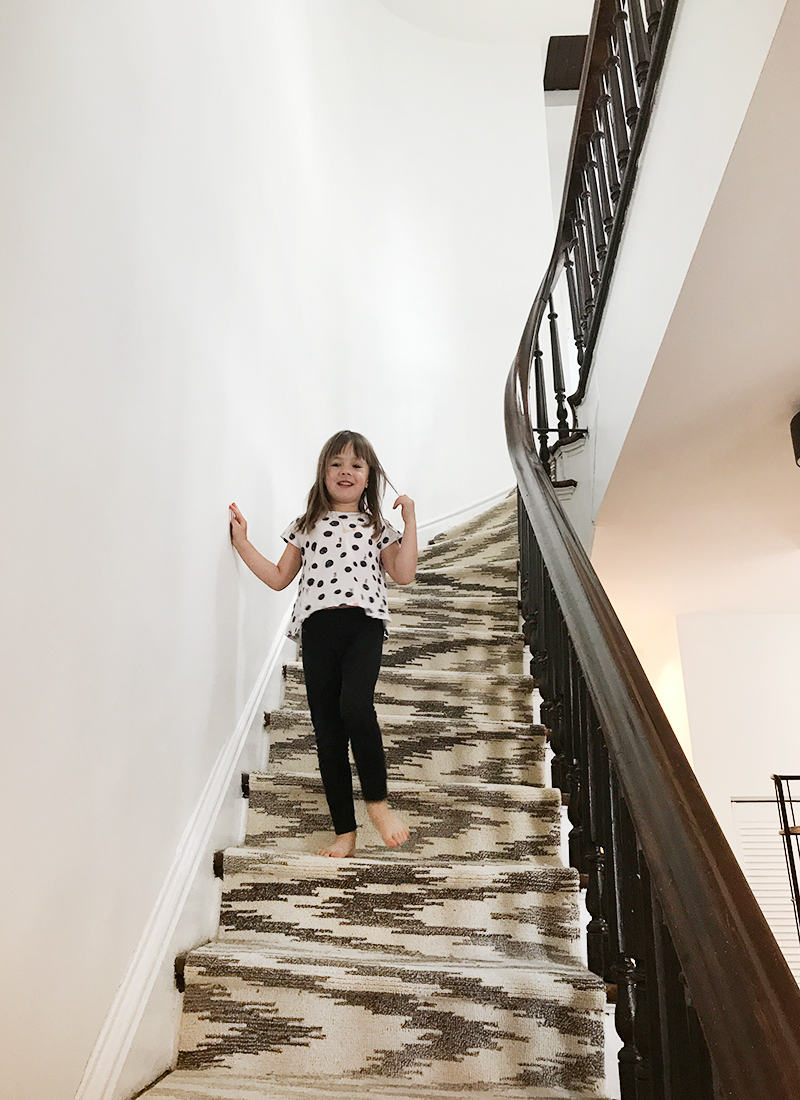
I cannot tell you what an improvement this made in our home! It’s the first thing you see when you walk into the house and it’s SO bold and eye-catching. It’s SO soft under foot, it’s CLEAN. It’s been wearing great! No issues at all. And despite the light color it has stained SO clean. I even spilled a bit of coffee on it that came right up!
In other news, I finally shot my home tour this week with the talented Aimee Mezzanga and it will be live in two weeks on The Everygirl!! You’ll see the REALLY good after photos then so stay tuned!
This post was in partnership with Annie Selke’s Dash & Albert but all of the opinions are my own.
That looks awesome! Your landlords are lucky to have such an ambitious tenant like you and Dan:)
I cannot wait to see the whole tour/reveal soon 🙂
I focused on your insta story and picked which one I thought you would go with and I was right! You have such great taste. The animal print would have worked great with the space too. Also can’t wait for the tour 🙂
Love that runner. Was it hard to match up?Had looked at the blue for our home and this post confirms my decision! Looks fabulous! Did you do any type of lad underneath the runner rug?