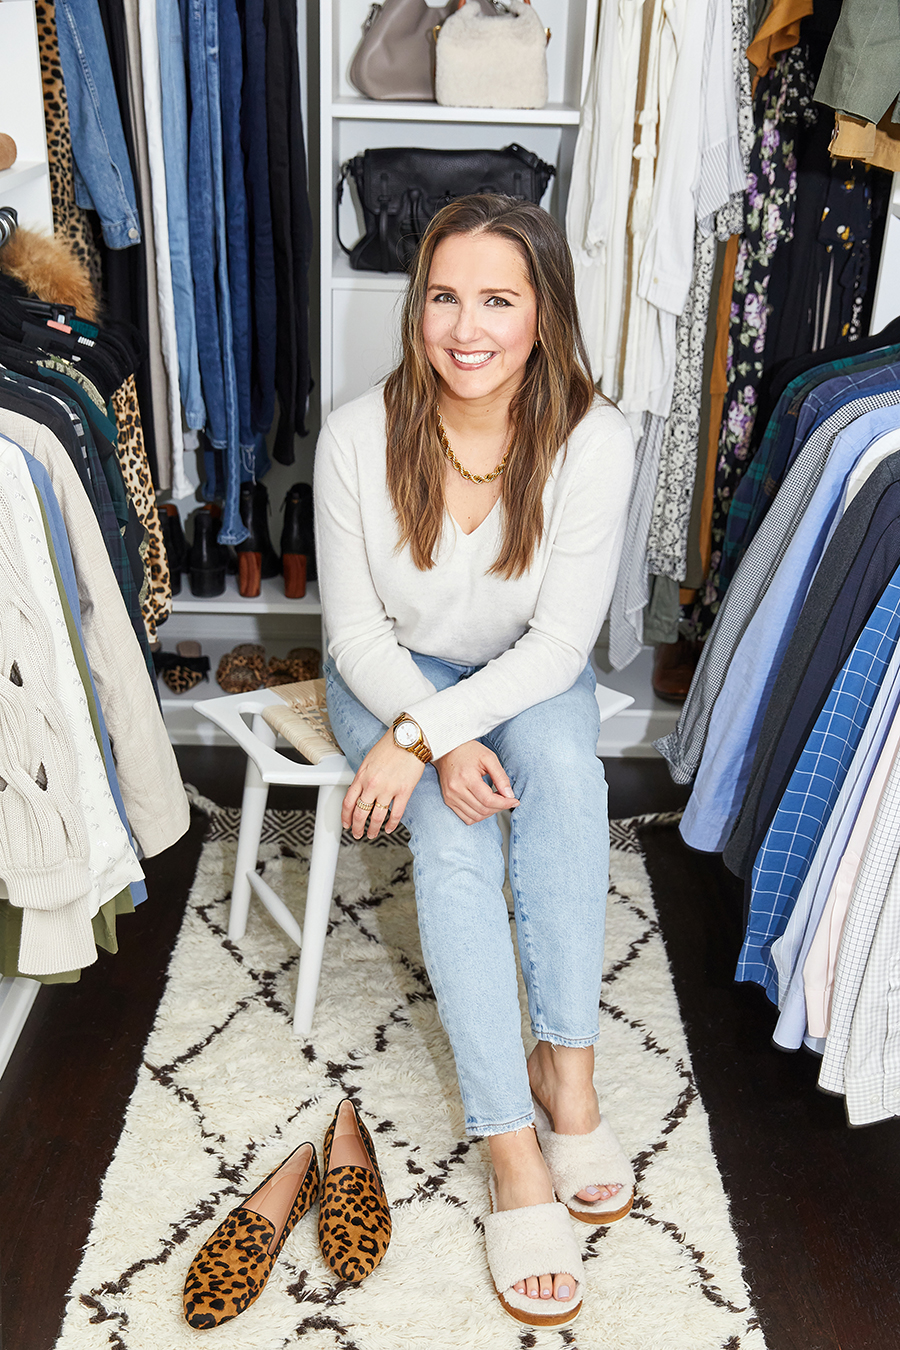
Today is the day!!! Our closet renovation before and afters are here! I’m so excited to share this room makeover with you all and I’m so grateful for your patience. The bulk of the project was done back in October (yes–7 months ago!!!). And it took me this long to get the final details done like moving and installing lighting and hardware, organizing and styling the top shelves, finding a rug, etc. I wanted it to be 100% finished before sharing it, so again, thank you for your patience!
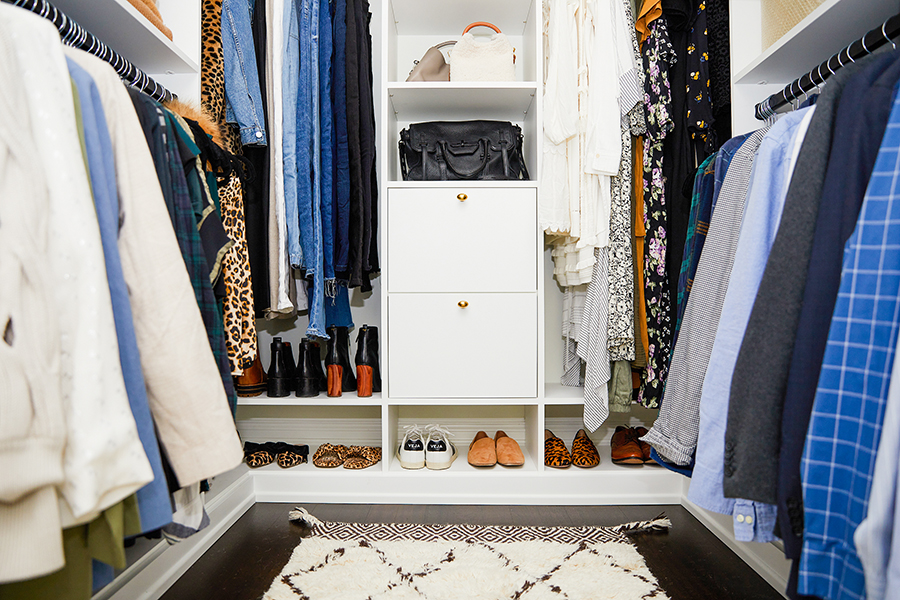
We knew we wanted to redo all of the closets since we moved in and make them as functional as possible; and in the case of our primary bedroom closet, I wanted to make it beautiful. It’s a large space–bigger than Charlie’s nursery in our condo. But it also has a really funny shape with this awkward long extended arm to it.
I worked with a local designer and closet expert Leslie at California Closets on this space*. I wouldn’t even attempt to tackle this on our own… Leslie made it so easy. Working with them covered everything from measuring, designing, and installing. We began by Leslie coming over to take measurements, talk to me about how we wanted to use the space (what items made up most of our wardrobe), go over budget, and discuss what features I was hoping to add.
Our closet needs/wishlist:
- a lot of storage for sweaters–I fold sweaters, never hang, so I needed a lot of shelves
- more hidden storage (drawers) for clothes since we only have one dresser
- trimwork and crown molding to make it look more like furniture than closet-built-ins
- inset drawers
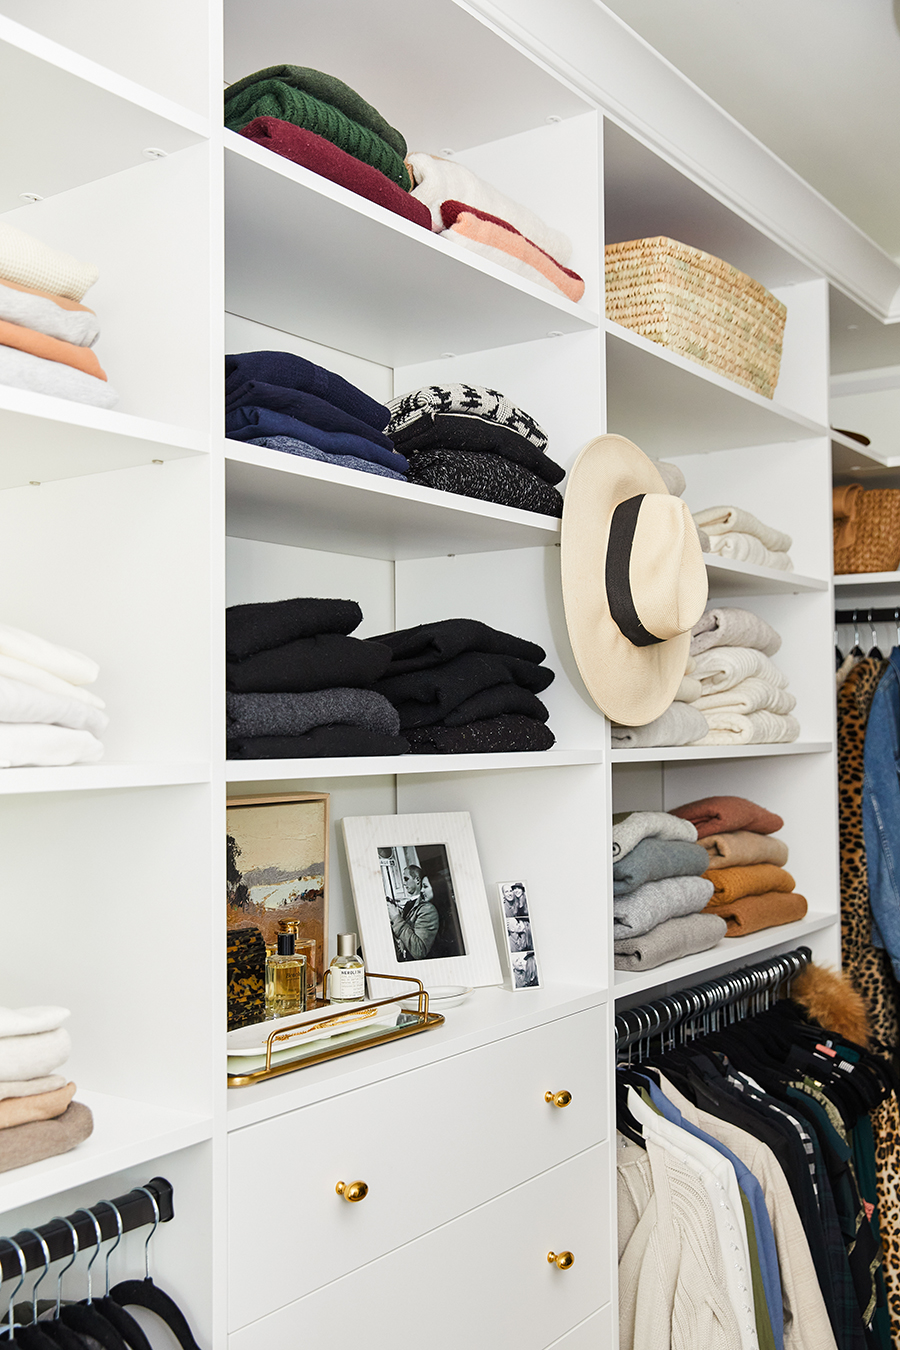
- statement wall to look at right when you walk in
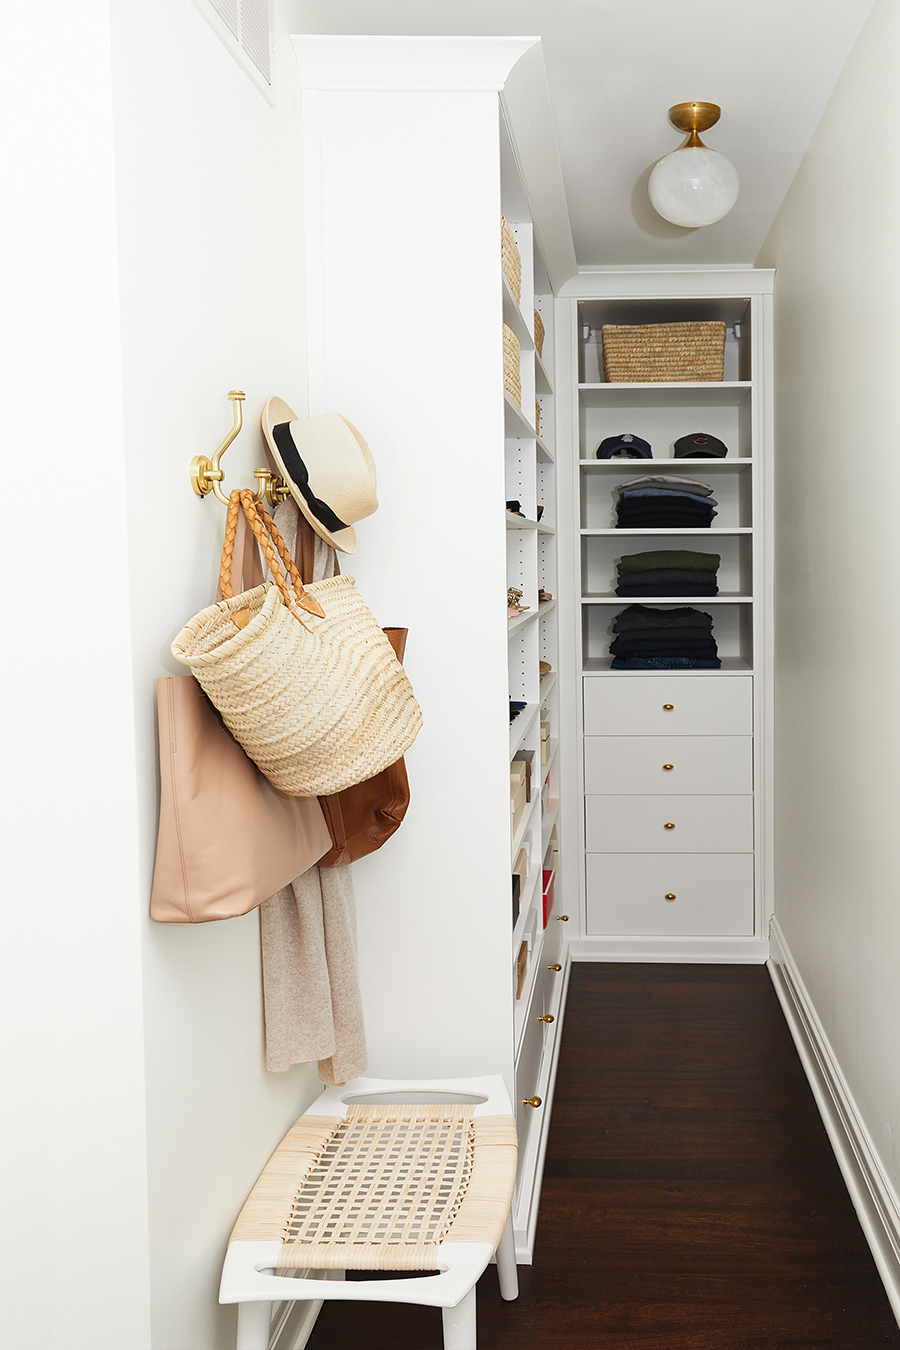
- make that awkward long narrow area as functional as possible
- jewelry and accessories storage
- I wanted it to feel more like a room and less like a closet. I used Shea McGee’s and ChrisLovesJulia’s beautiful closets as inspiration
- new lighting with dimmers (this didn’t have to do with CC, just a need for us)
Things we wanted but cut:
- crown molding to the ceiling–I really wanted this but it cut a surprising chunk of our budget and still gave the look I wanted with the crown molding
- I would have loved to have surrounds that were deeper which meant the clothes were entirely within the depth of the cabinetry (here is an example of that); but we didn’t have the space for it so we had to cut that feature
I mean overall I’m still just beyond amazing and impressed with the quality of work. I cannot believe this is my closet. My niece said it was like Barbie’s closet, and I have to agree with her. Ten years ago, I shared my closet with the pantry of the apartment I lived in. Cheetos and whole wheat bread on the shelf below my sweaters. So this feels… really nice. 🙂
YOU CAN SEE PROCESS OF THIS MAKEOVER ON MY INSTAGRAM HERE.
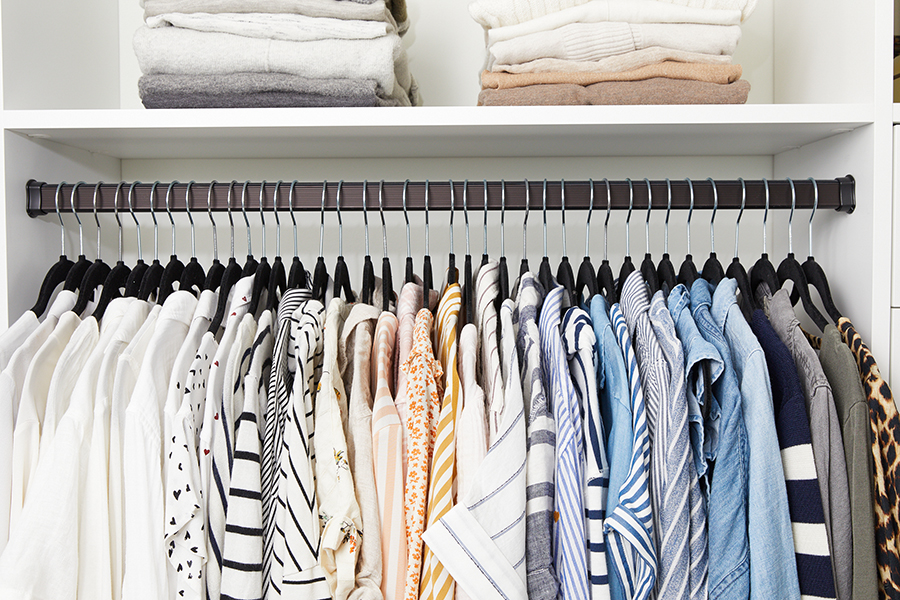
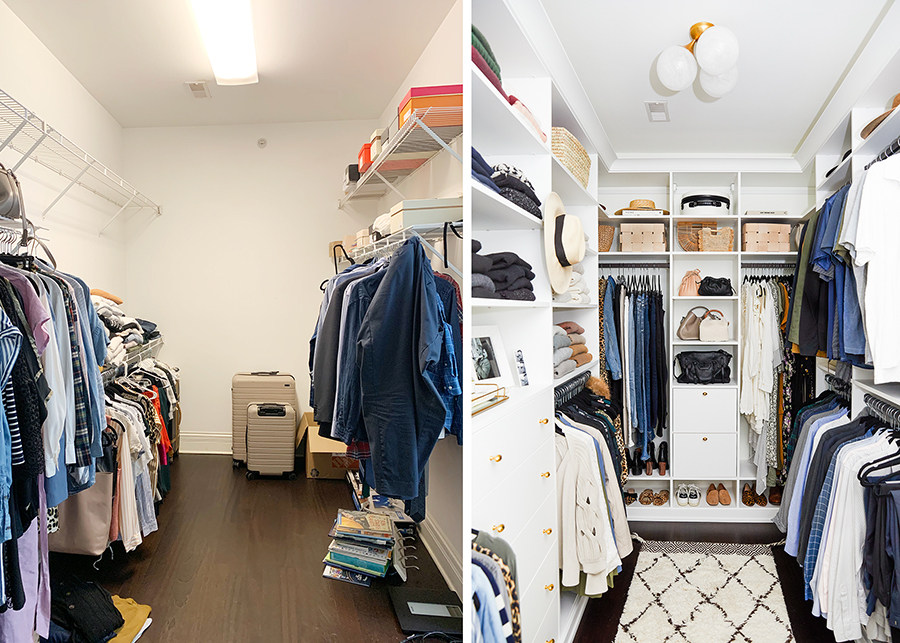
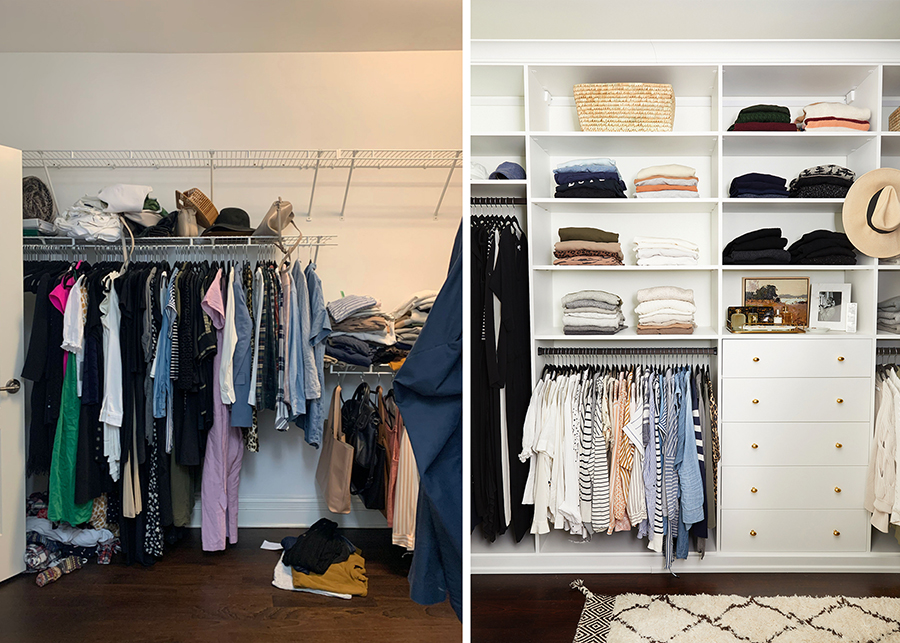
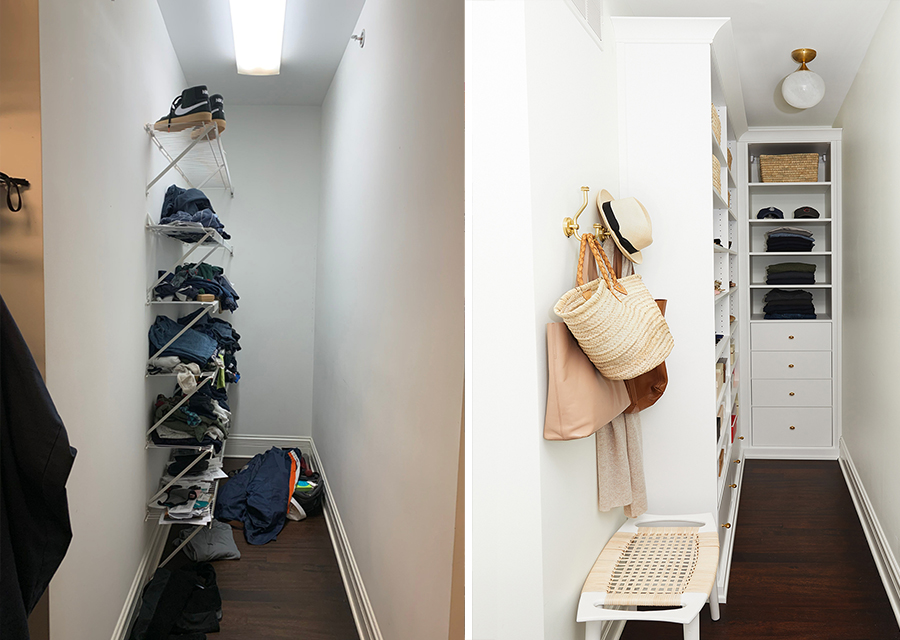
THE BEFORE:
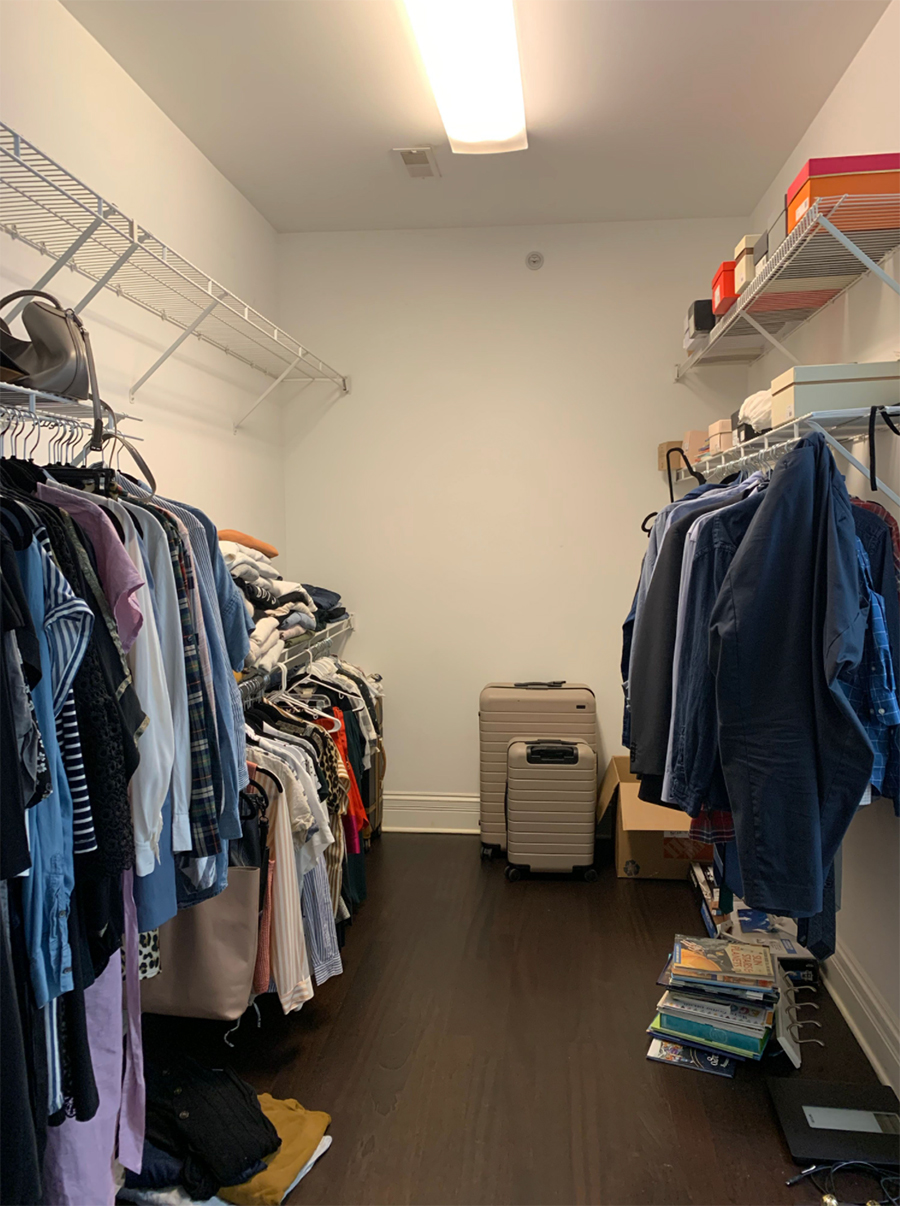
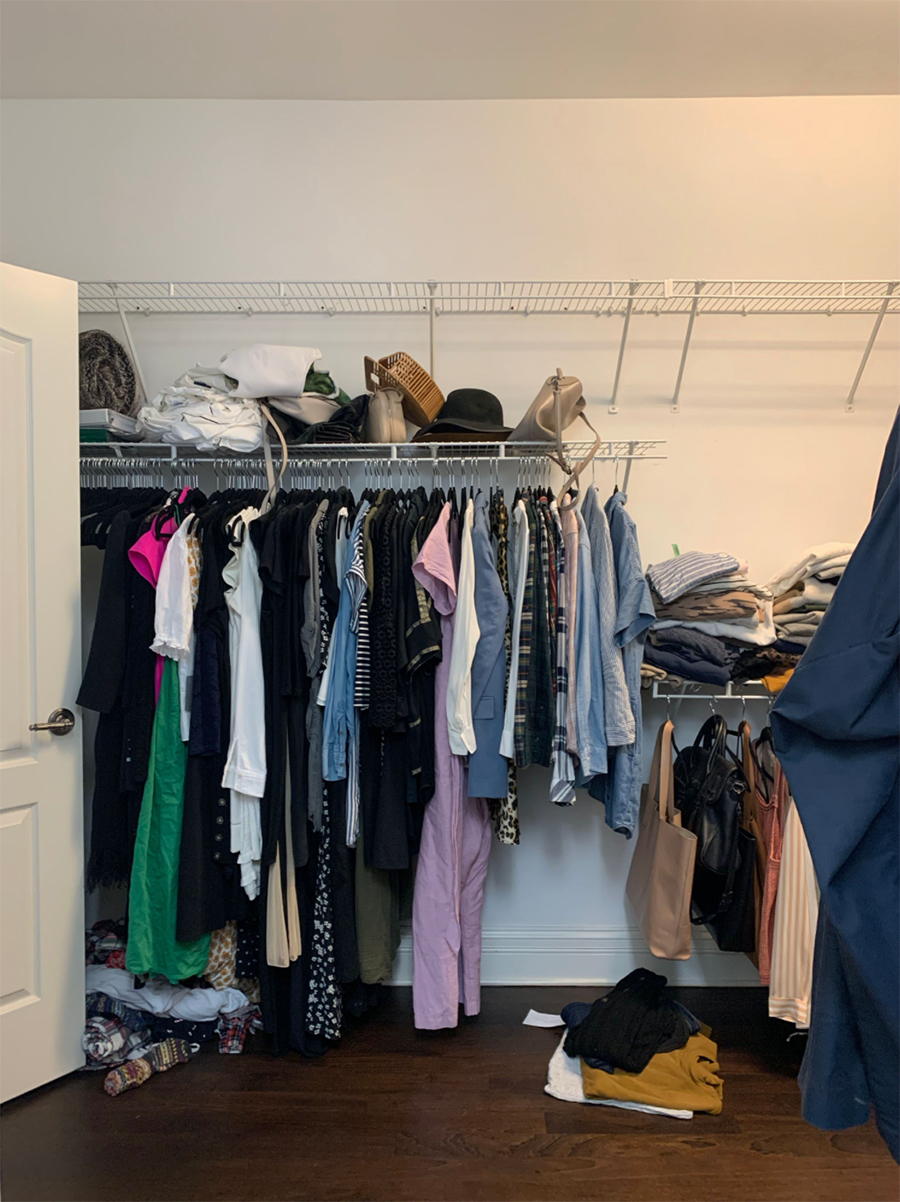
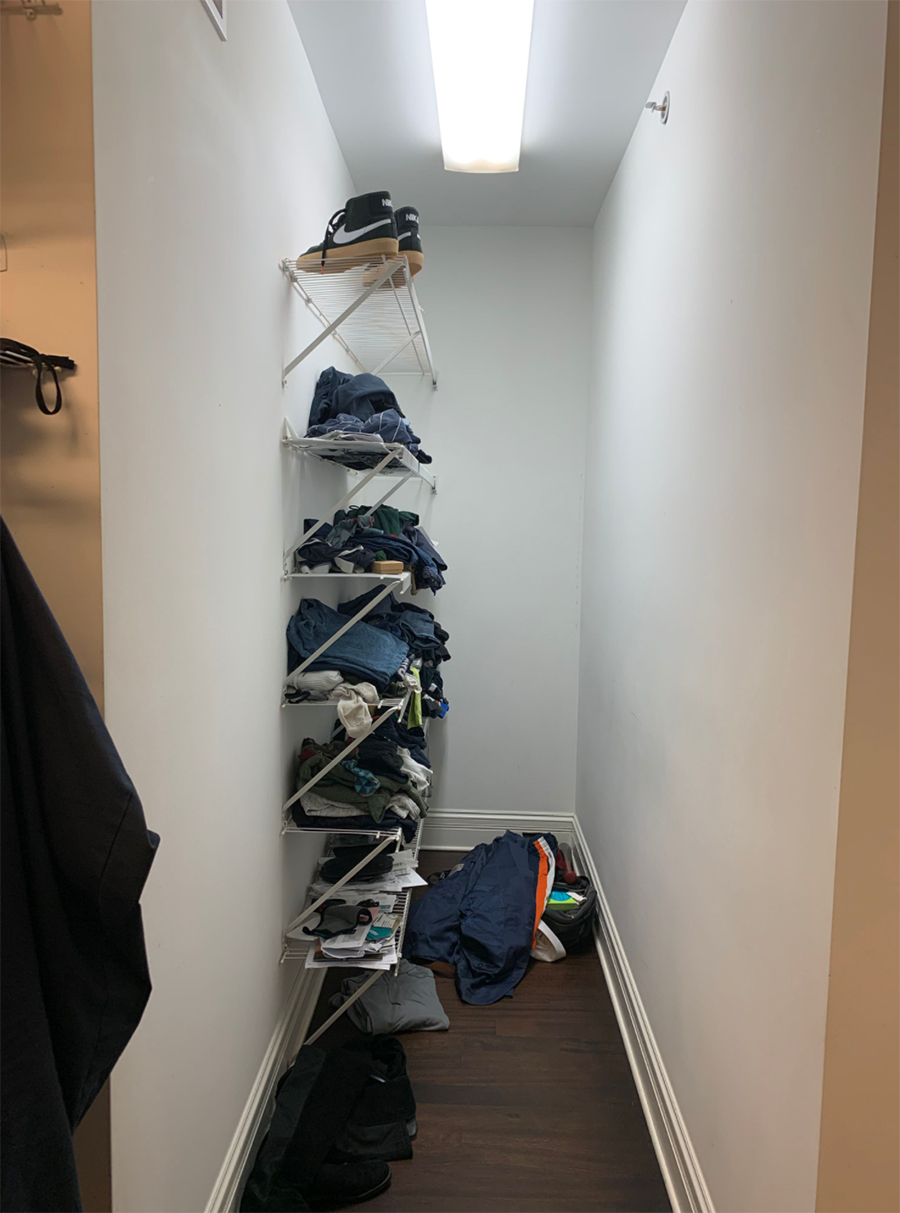
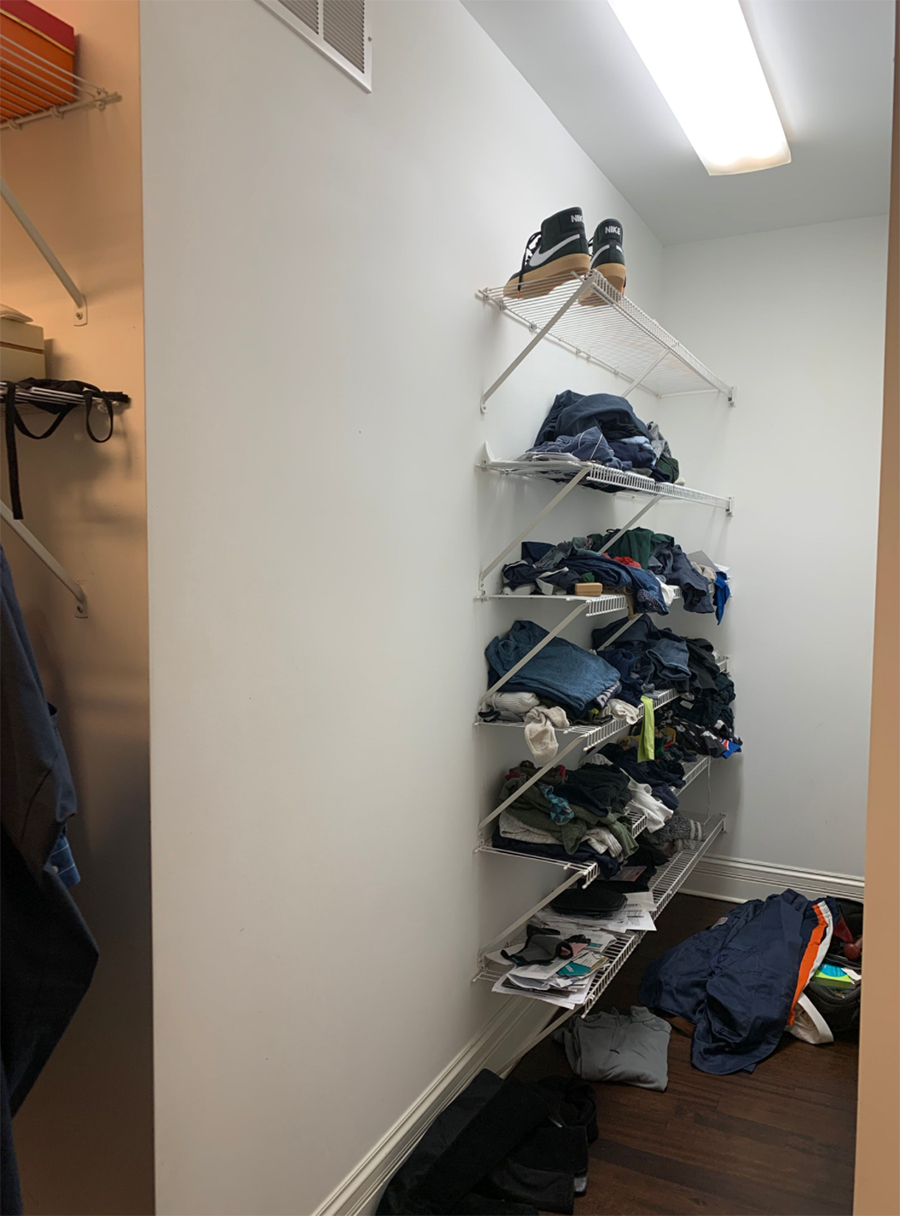
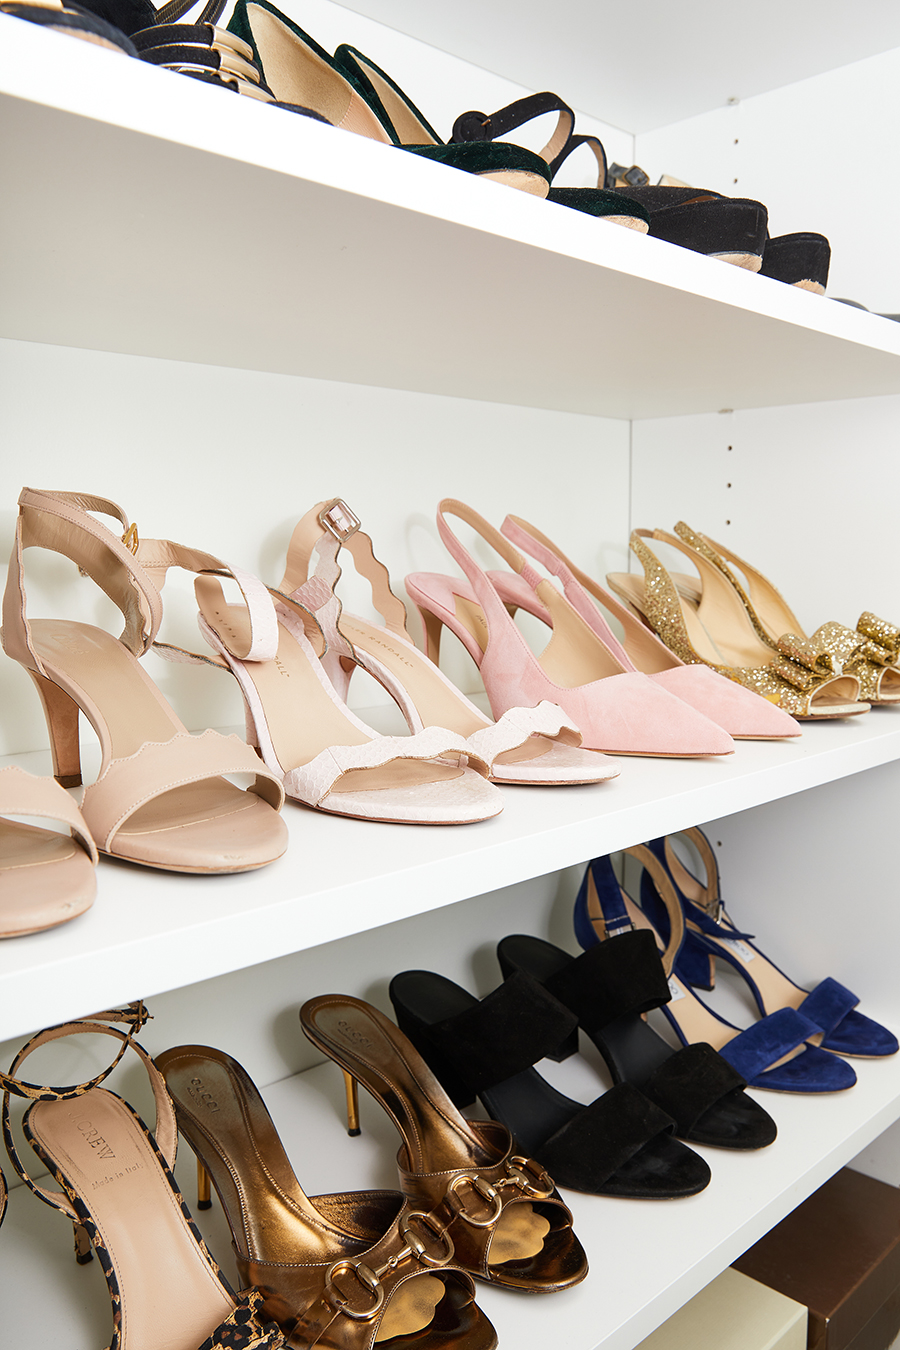
The closet before had wire shelving that was hanging off in places, fluorescent lighting, and a lot of wasted space. Aside from hanging clothes, the wire racks were not ideal for storing more delicate items like bags or sweaters.
THE DESIGN:
The best part of the design process with California Closets was getting to see the space in a 3-D rendering. It made making decisions so much easier. I’d do a Zoom video call with Leslie, and she would easily add or remove features and tell me how it was impacting the budget and it made it all so much easier.
I really thought I was going to go all in on the gold accents and do California Closets’ gold rods, but ultimately I went with oil-rubbed bronze which mostly looks black, even though it’s not. And I did gold (brass) for lighting and hardware. I share these details in my instagram highlights!
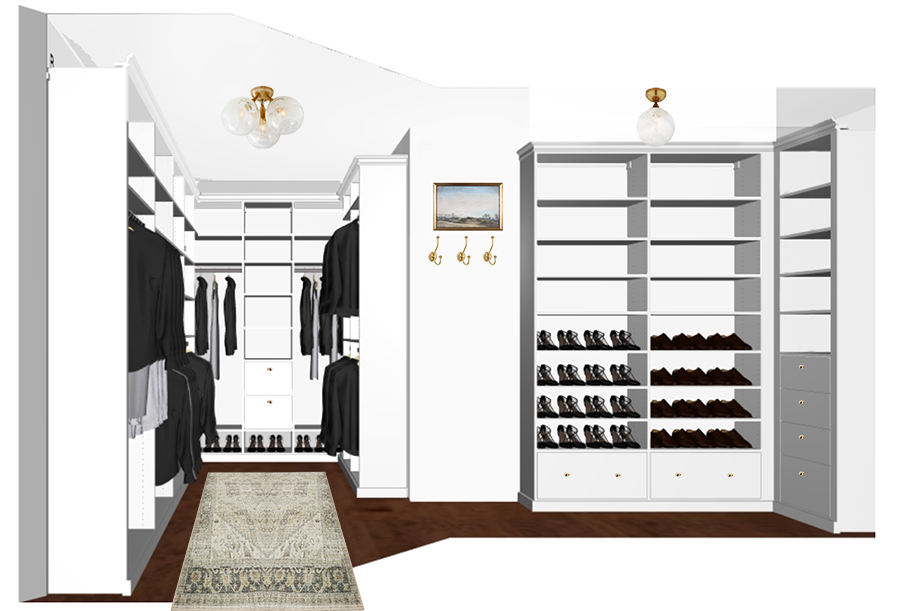
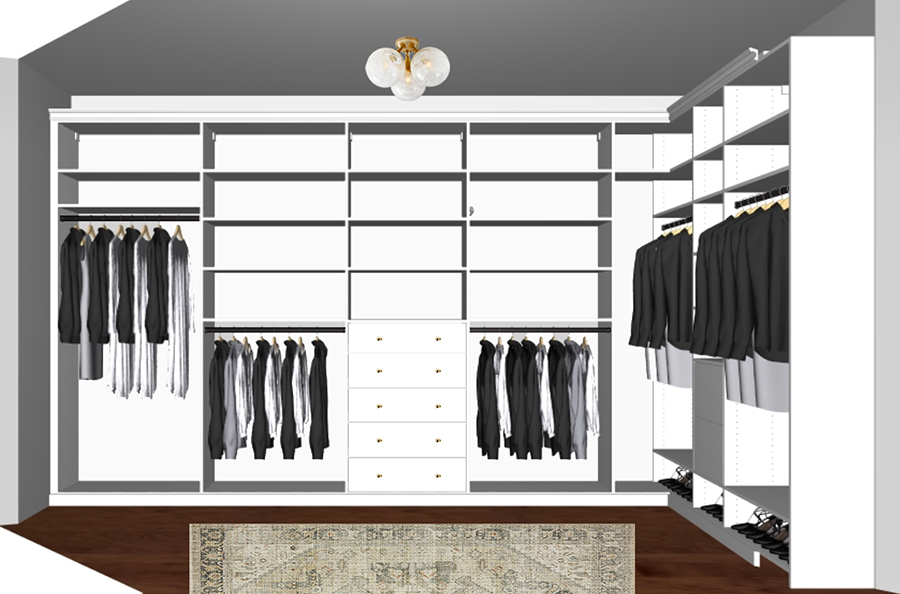 I took her designs and photoshopped in lighting, rug, and hardware to really get a feel for the finished look.
And just like that… it came to life, exactly as the renderings showed–only better!
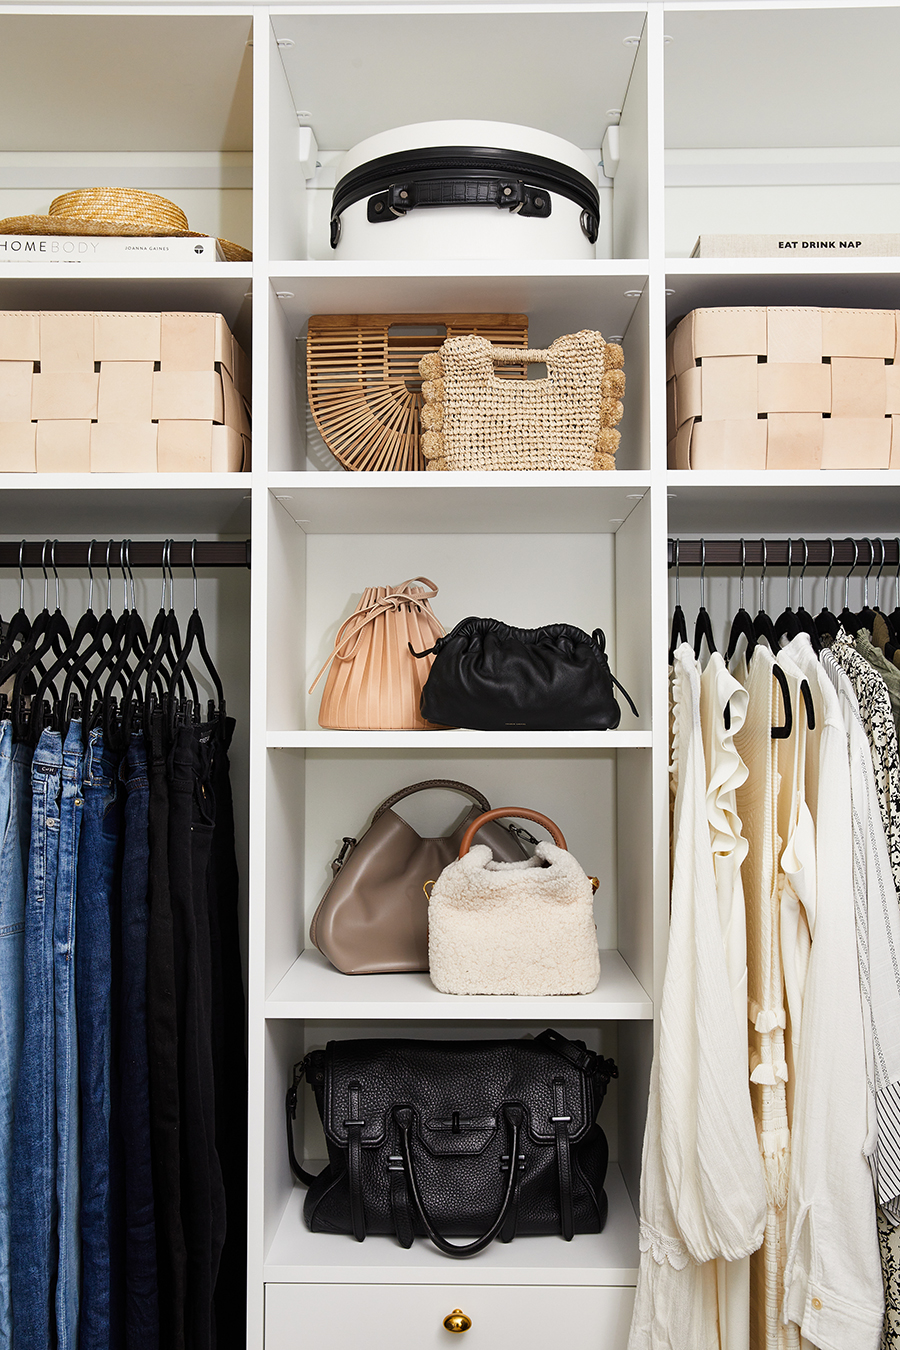
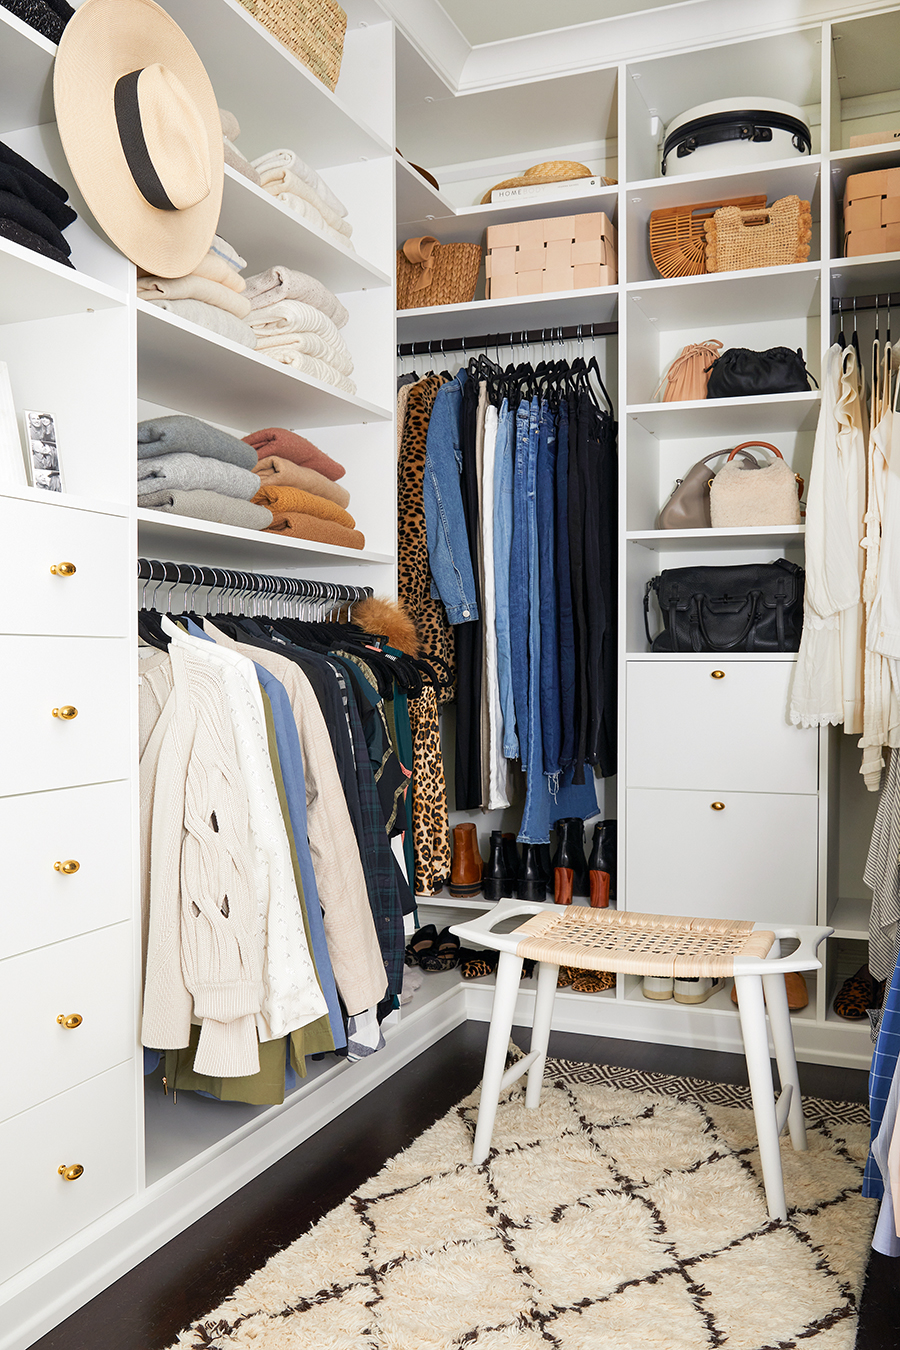
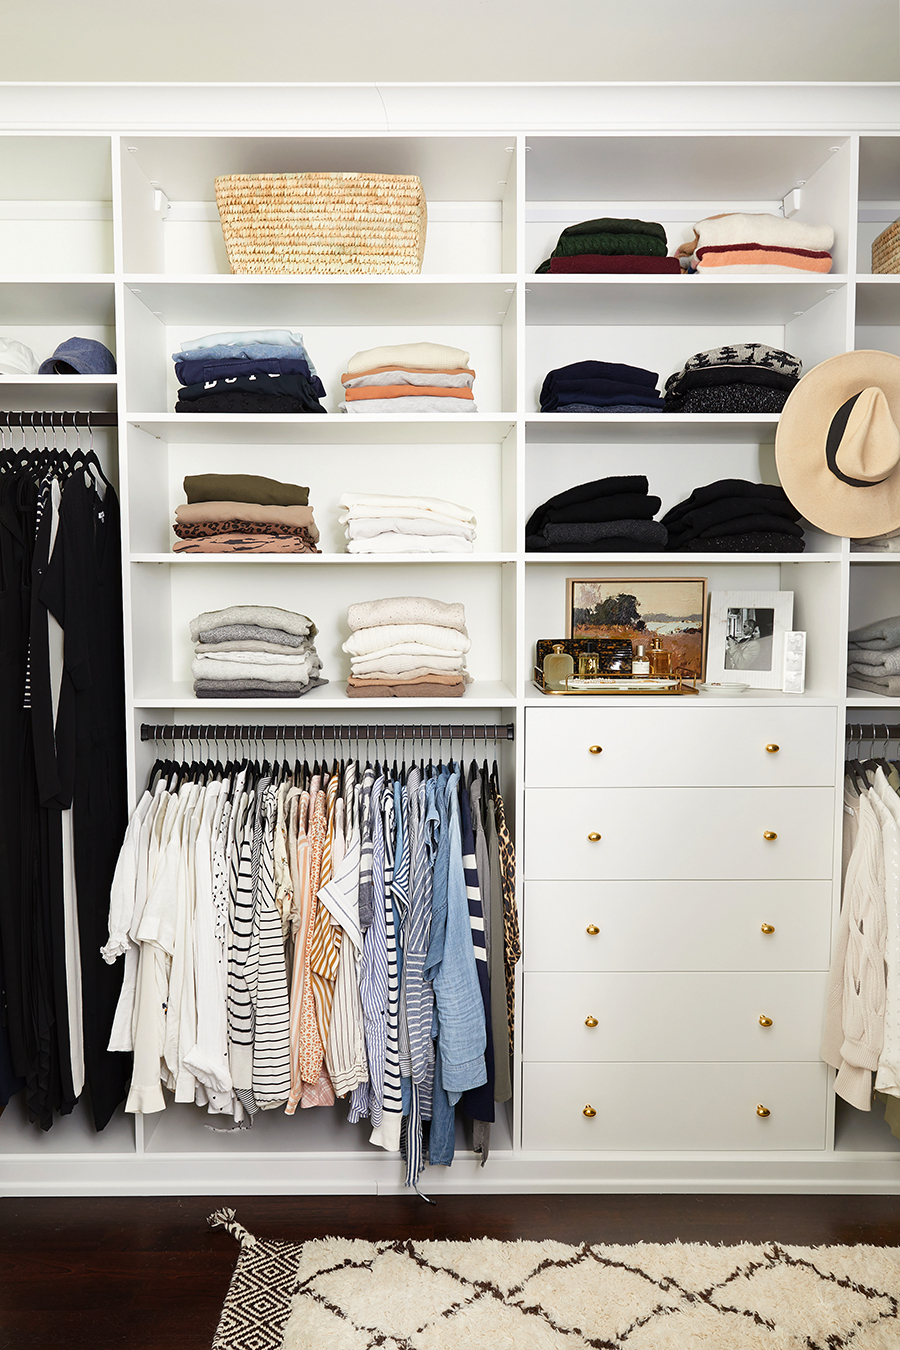
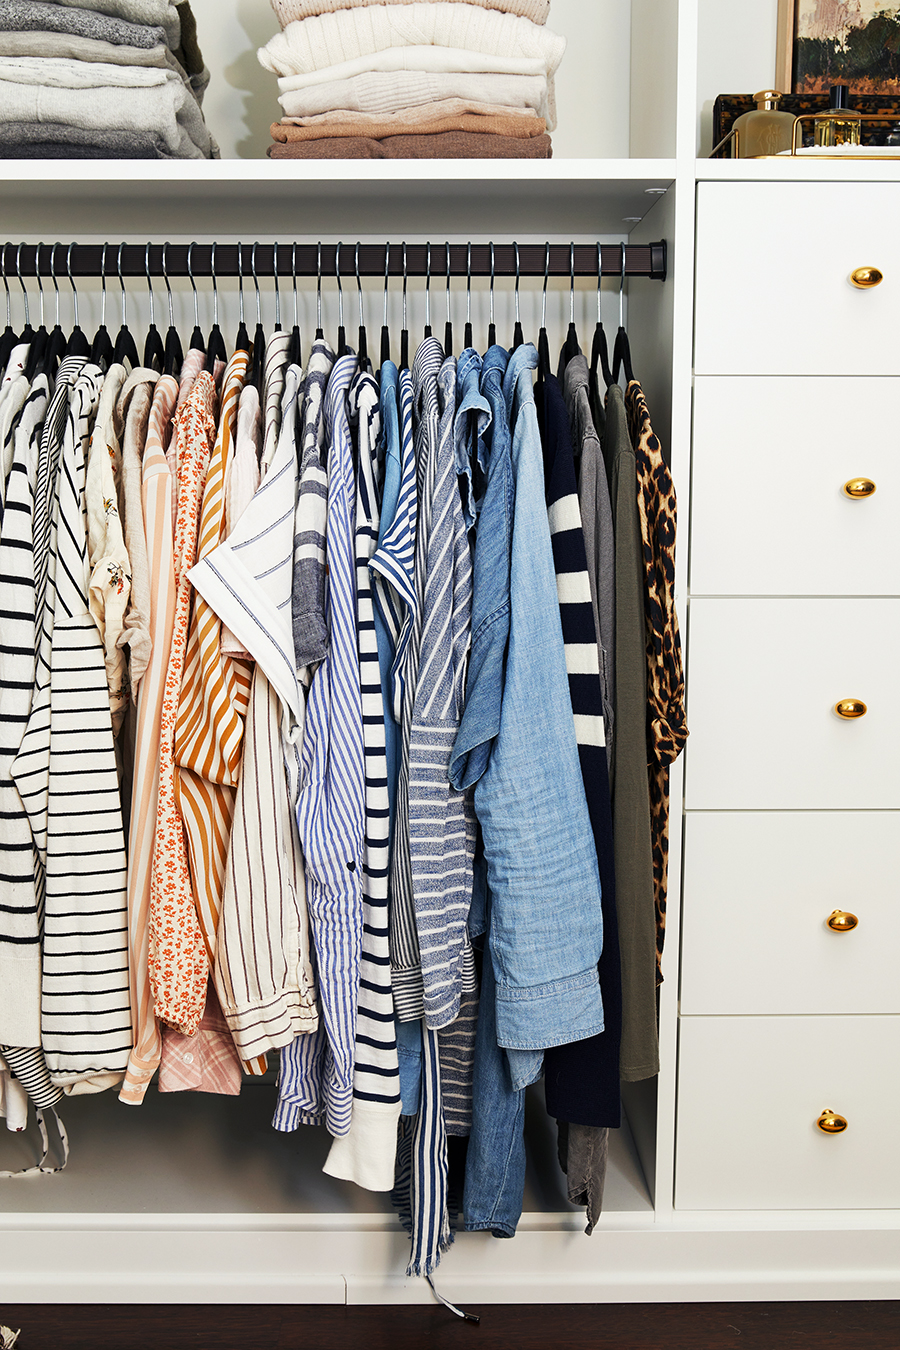
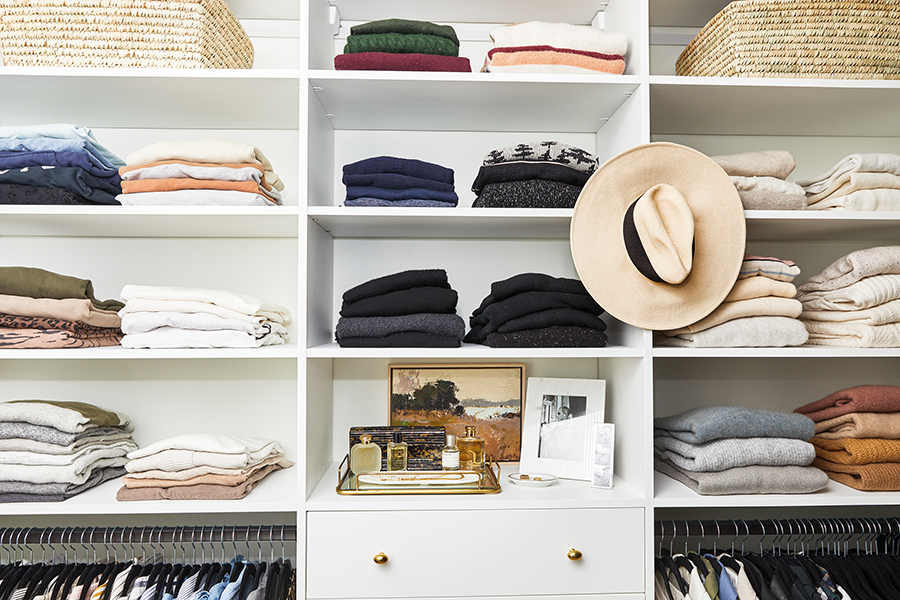
THE AFTER:
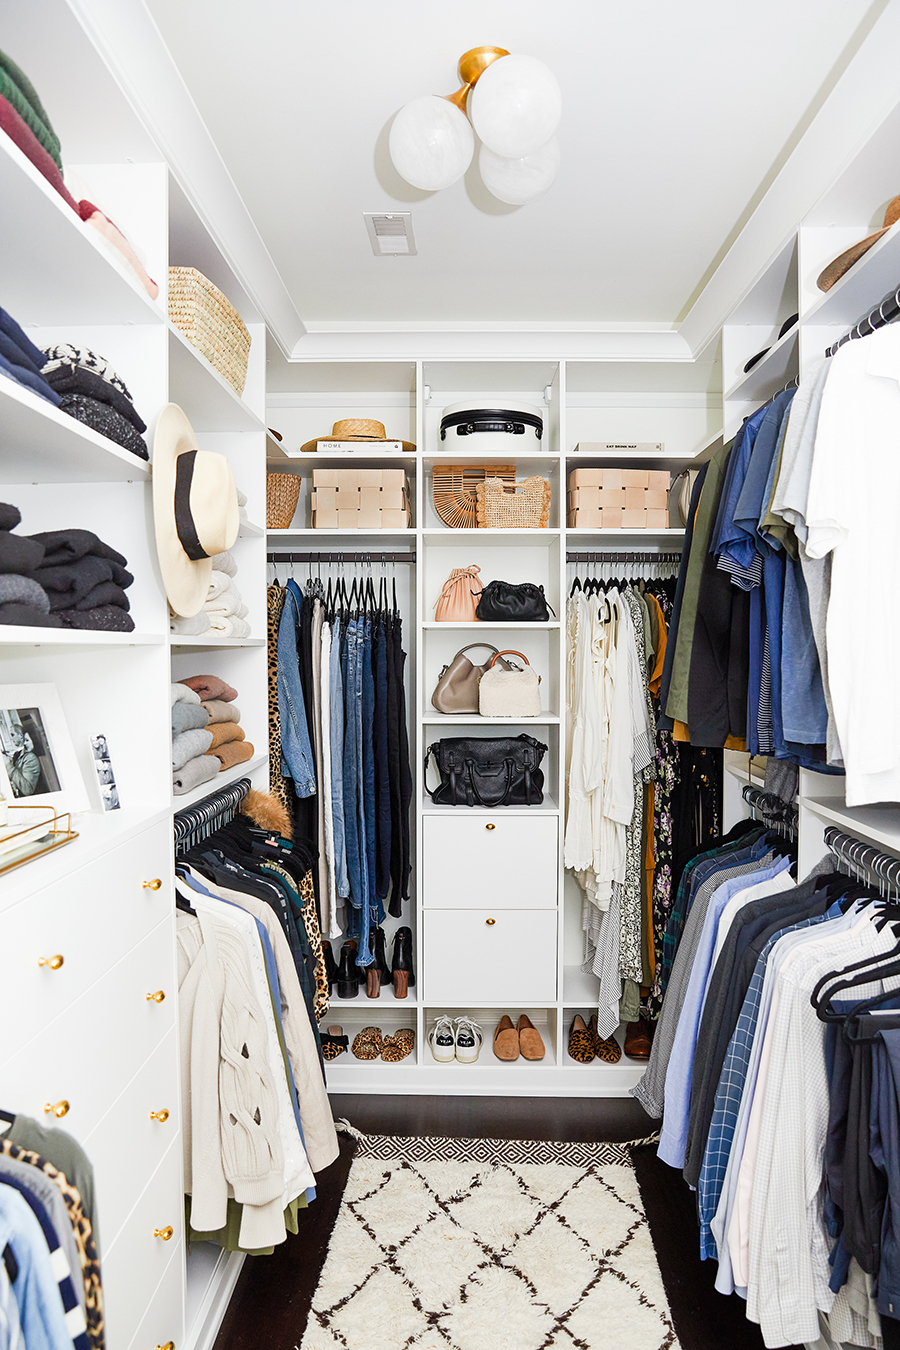


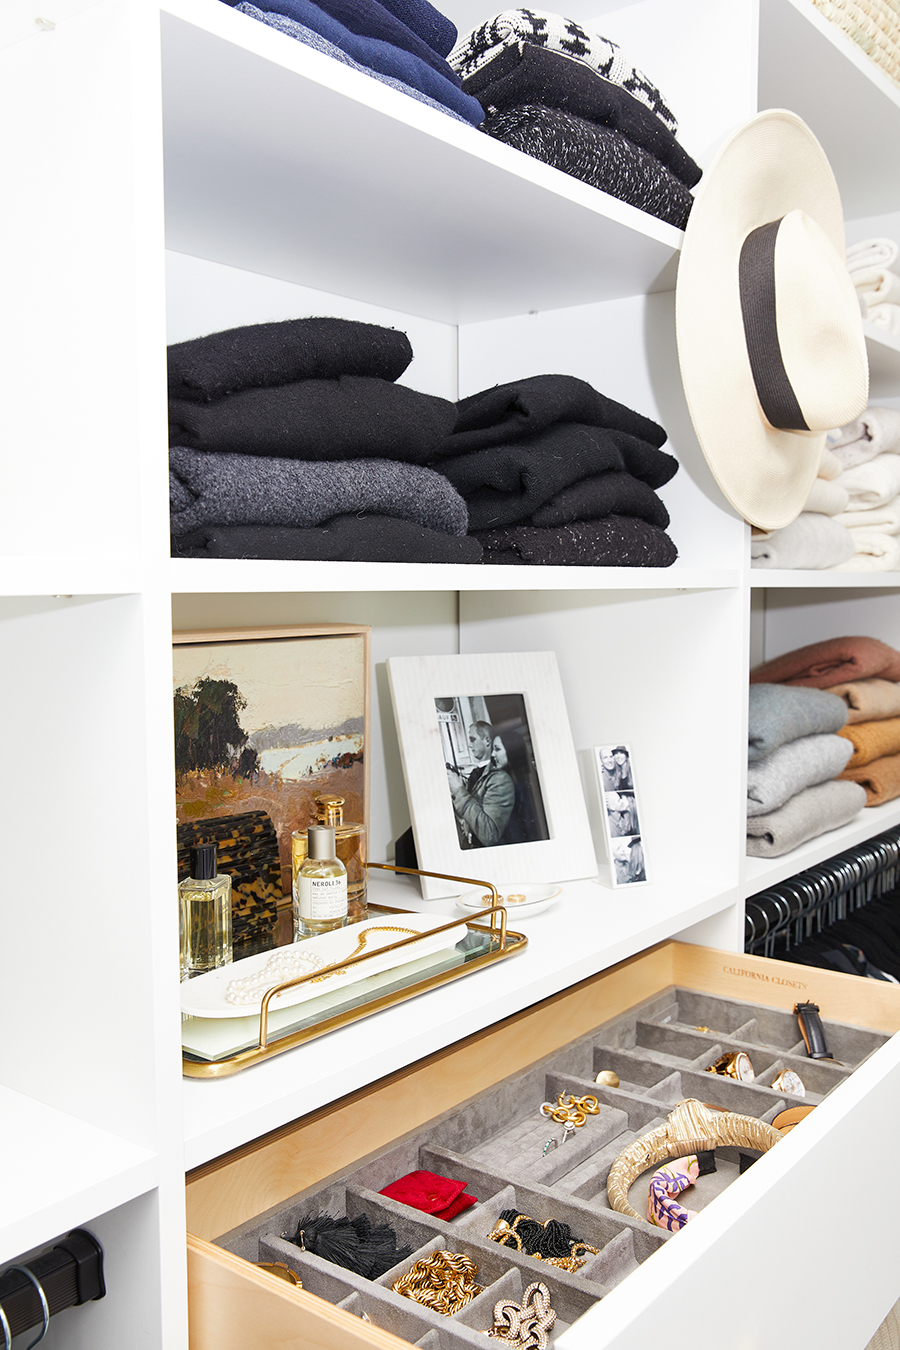
This jewelry insert was an added cost that I didn’t think twice about. It’s made keeping my jewelry organized and dust free so easy. I used to leave it out on my dresser but this is just… the best.
I also styled the shelf above it similar to how I would a dresser, adding a personal picture in a beautiful pinstripe marble frame, a beautiful piece of art, and some perfumes on a mirrored tray to break up the rows and rows of clothes.

This tie rack that slides in and out was another little detail feature I immediately said “Yes, please!” to when Leslie mentioned it. Dan doesn’t have to wear ties often so he doesn’t have a lot, but what he has was always all over the place. This keeps them tidy and hidden.
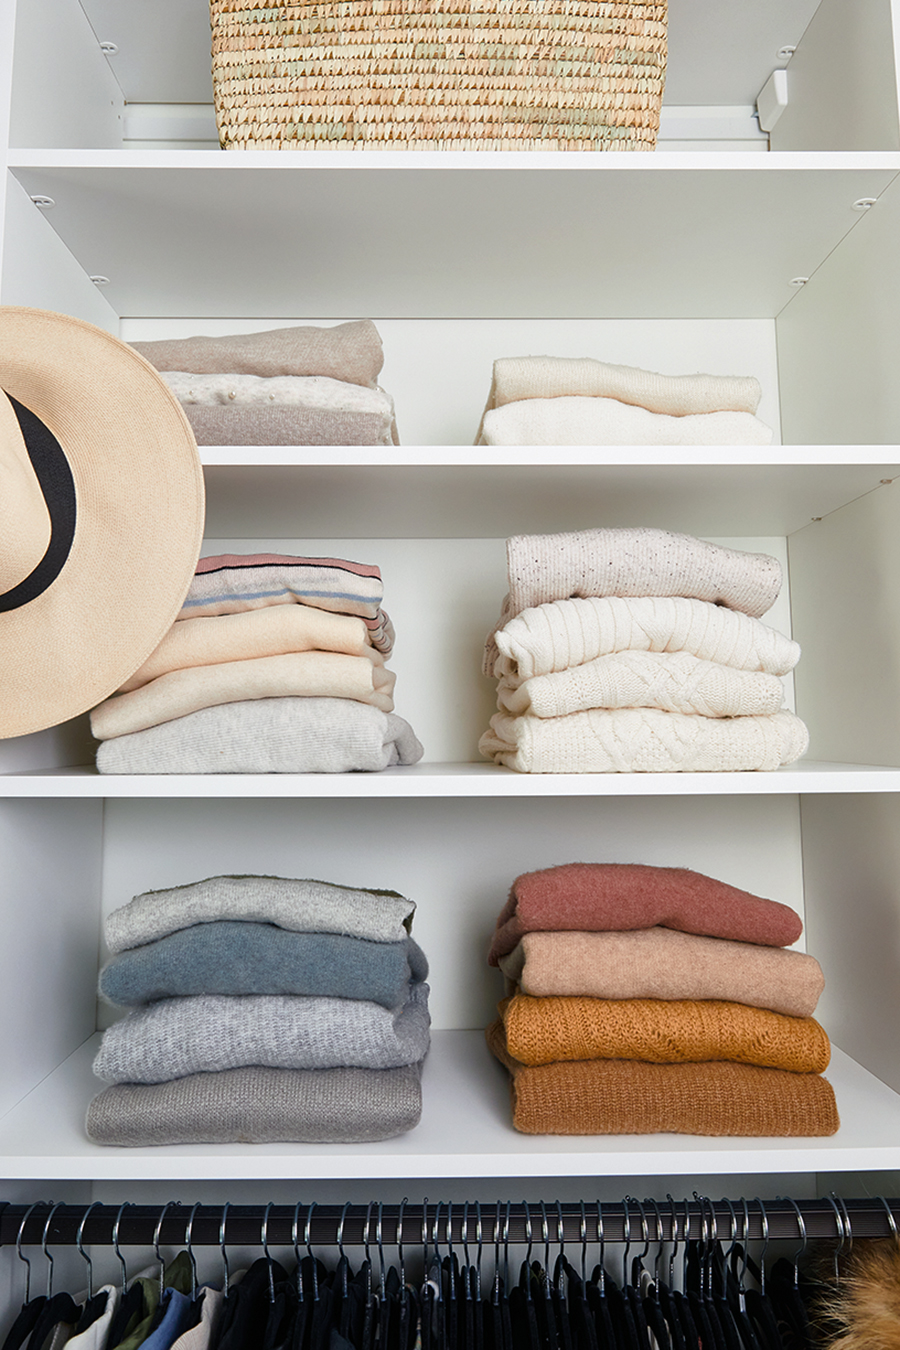

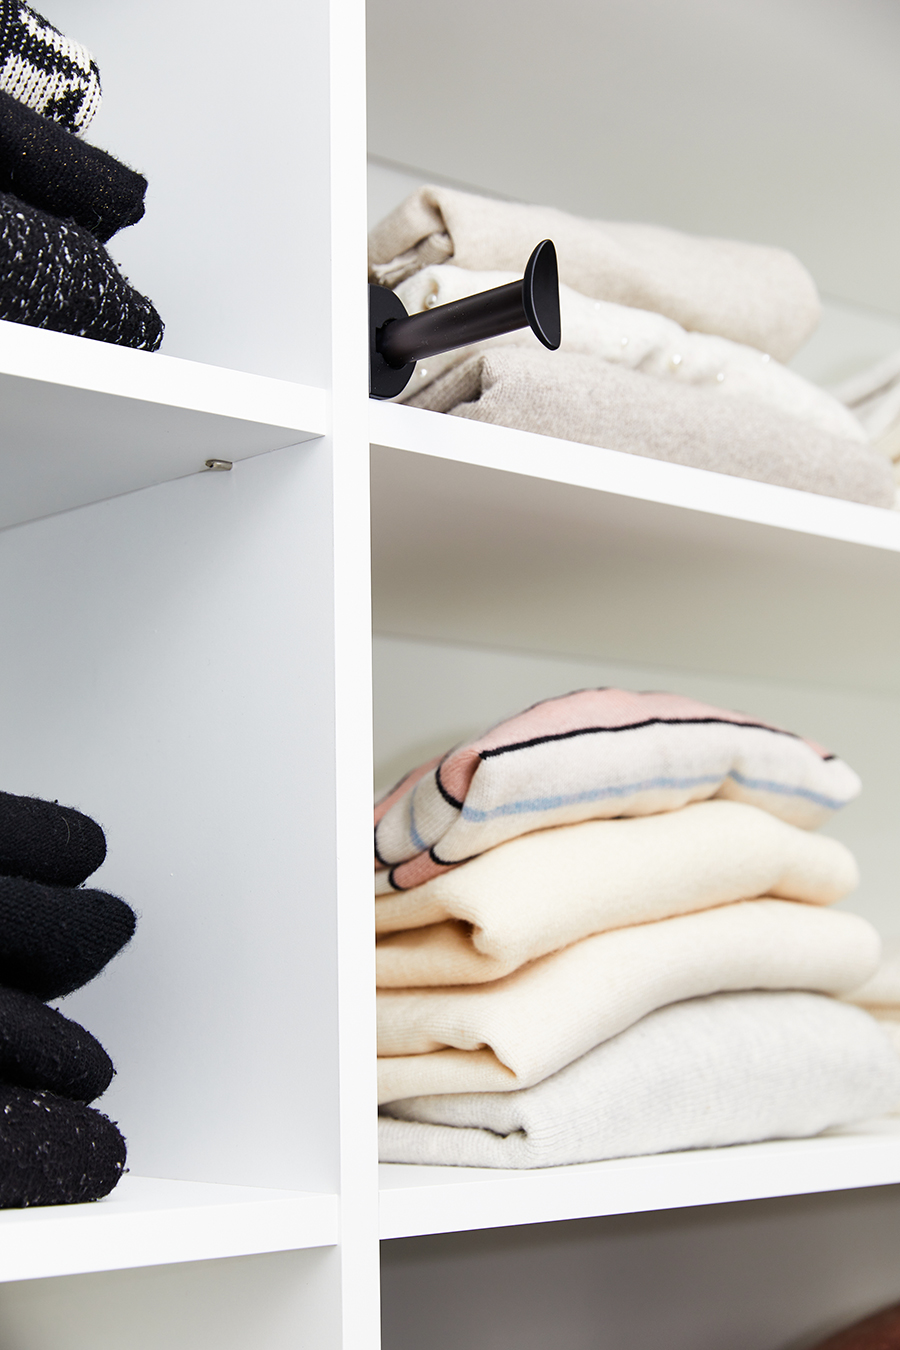
This little valet rack also pops in and out and is just a special detail that’s nice to have. It’s used to hang an article of clothing you need to steam or plan on wearing. Most days I keep a seasonal hat on it.
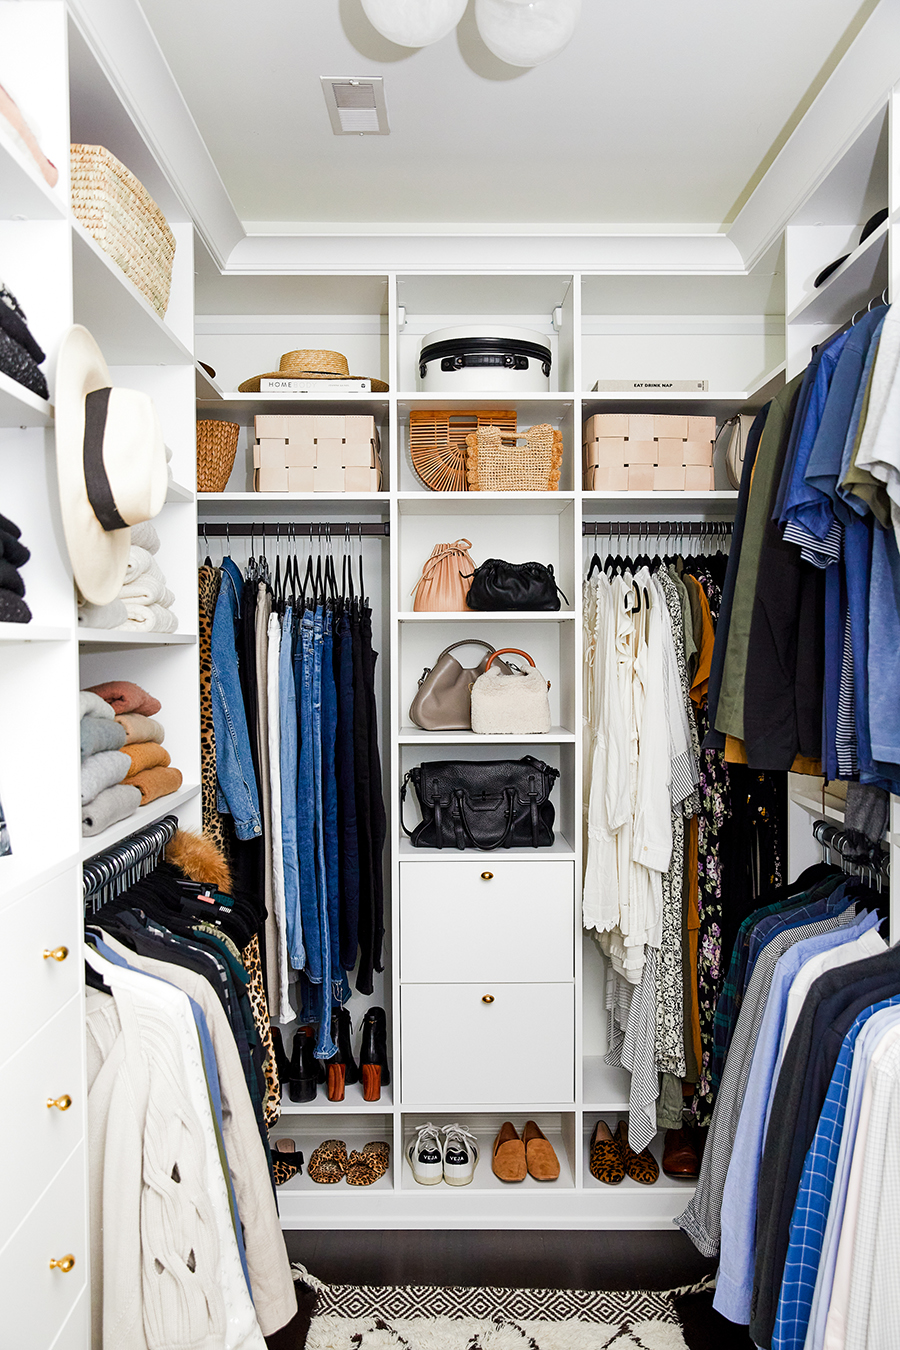
Wow… I mean, I can’t not smile when I look at it. 🙂
And a few side by sides of the before/after for full effect:
CLOSET DETAILS:
Wood finish: Dove White by California Closets which is one level upgrade from the standard white finish
Garment rods, tie rack, and valet rod: Oil rubbed bronze (which I think looks black even though it technically is not)
Drawers are inset, soft-close
Hardware knobs (aged brass)
Runner (so cozy for bare feet, currently 30% off)
Woven and wood bench from Brooke & Lou
Pinstripe marble picture frame from Brooke & Lou
Wall double hooks in aged brass
Light fixture, three globes (we had this in Charlie’s nursery in the old place)
Photos by: Heather Talbert Photography
*Thank you California Closets for partnering with me on a partial media discount for this closet design.
